Well, I’m no longer a coffee producer. On Sunday, I finished my 5-week stint of learning about coffee production hands-on at El Fénix and returned to Bogotá for a few days before coming home.
What an incredible time! I will forever treasure the singular, seriously in-depth experience that was working on a coffee farm. And I will take away from it innumerable life lessons about the value of hard work and the persons responsible for a global supply chain. In the first draft of my application for the Dale grant this summer, I wrote of the hundreds of hands that coffee passes through before I get to drink it. For at least a few beans, my hands were among those at every stage of the process.
So far, I’ve written this blog chronologically from my perspective. For a change, and a bit of a compendium, I’ll write the rest of this post in the chronological perspective of coffee – specifically, one coffee that I worked very hard on this summer. (In the coming story, the beans that I harvested were nursed several years ago and planted about twenty months ago, but everything from the harvesting stage forward actually happened as described.)
The Saga of the Pink Bourbon
Here, I’ll tell the full story of a cup of coffee that I made, (bean to) bean to cup.
The Chapolas
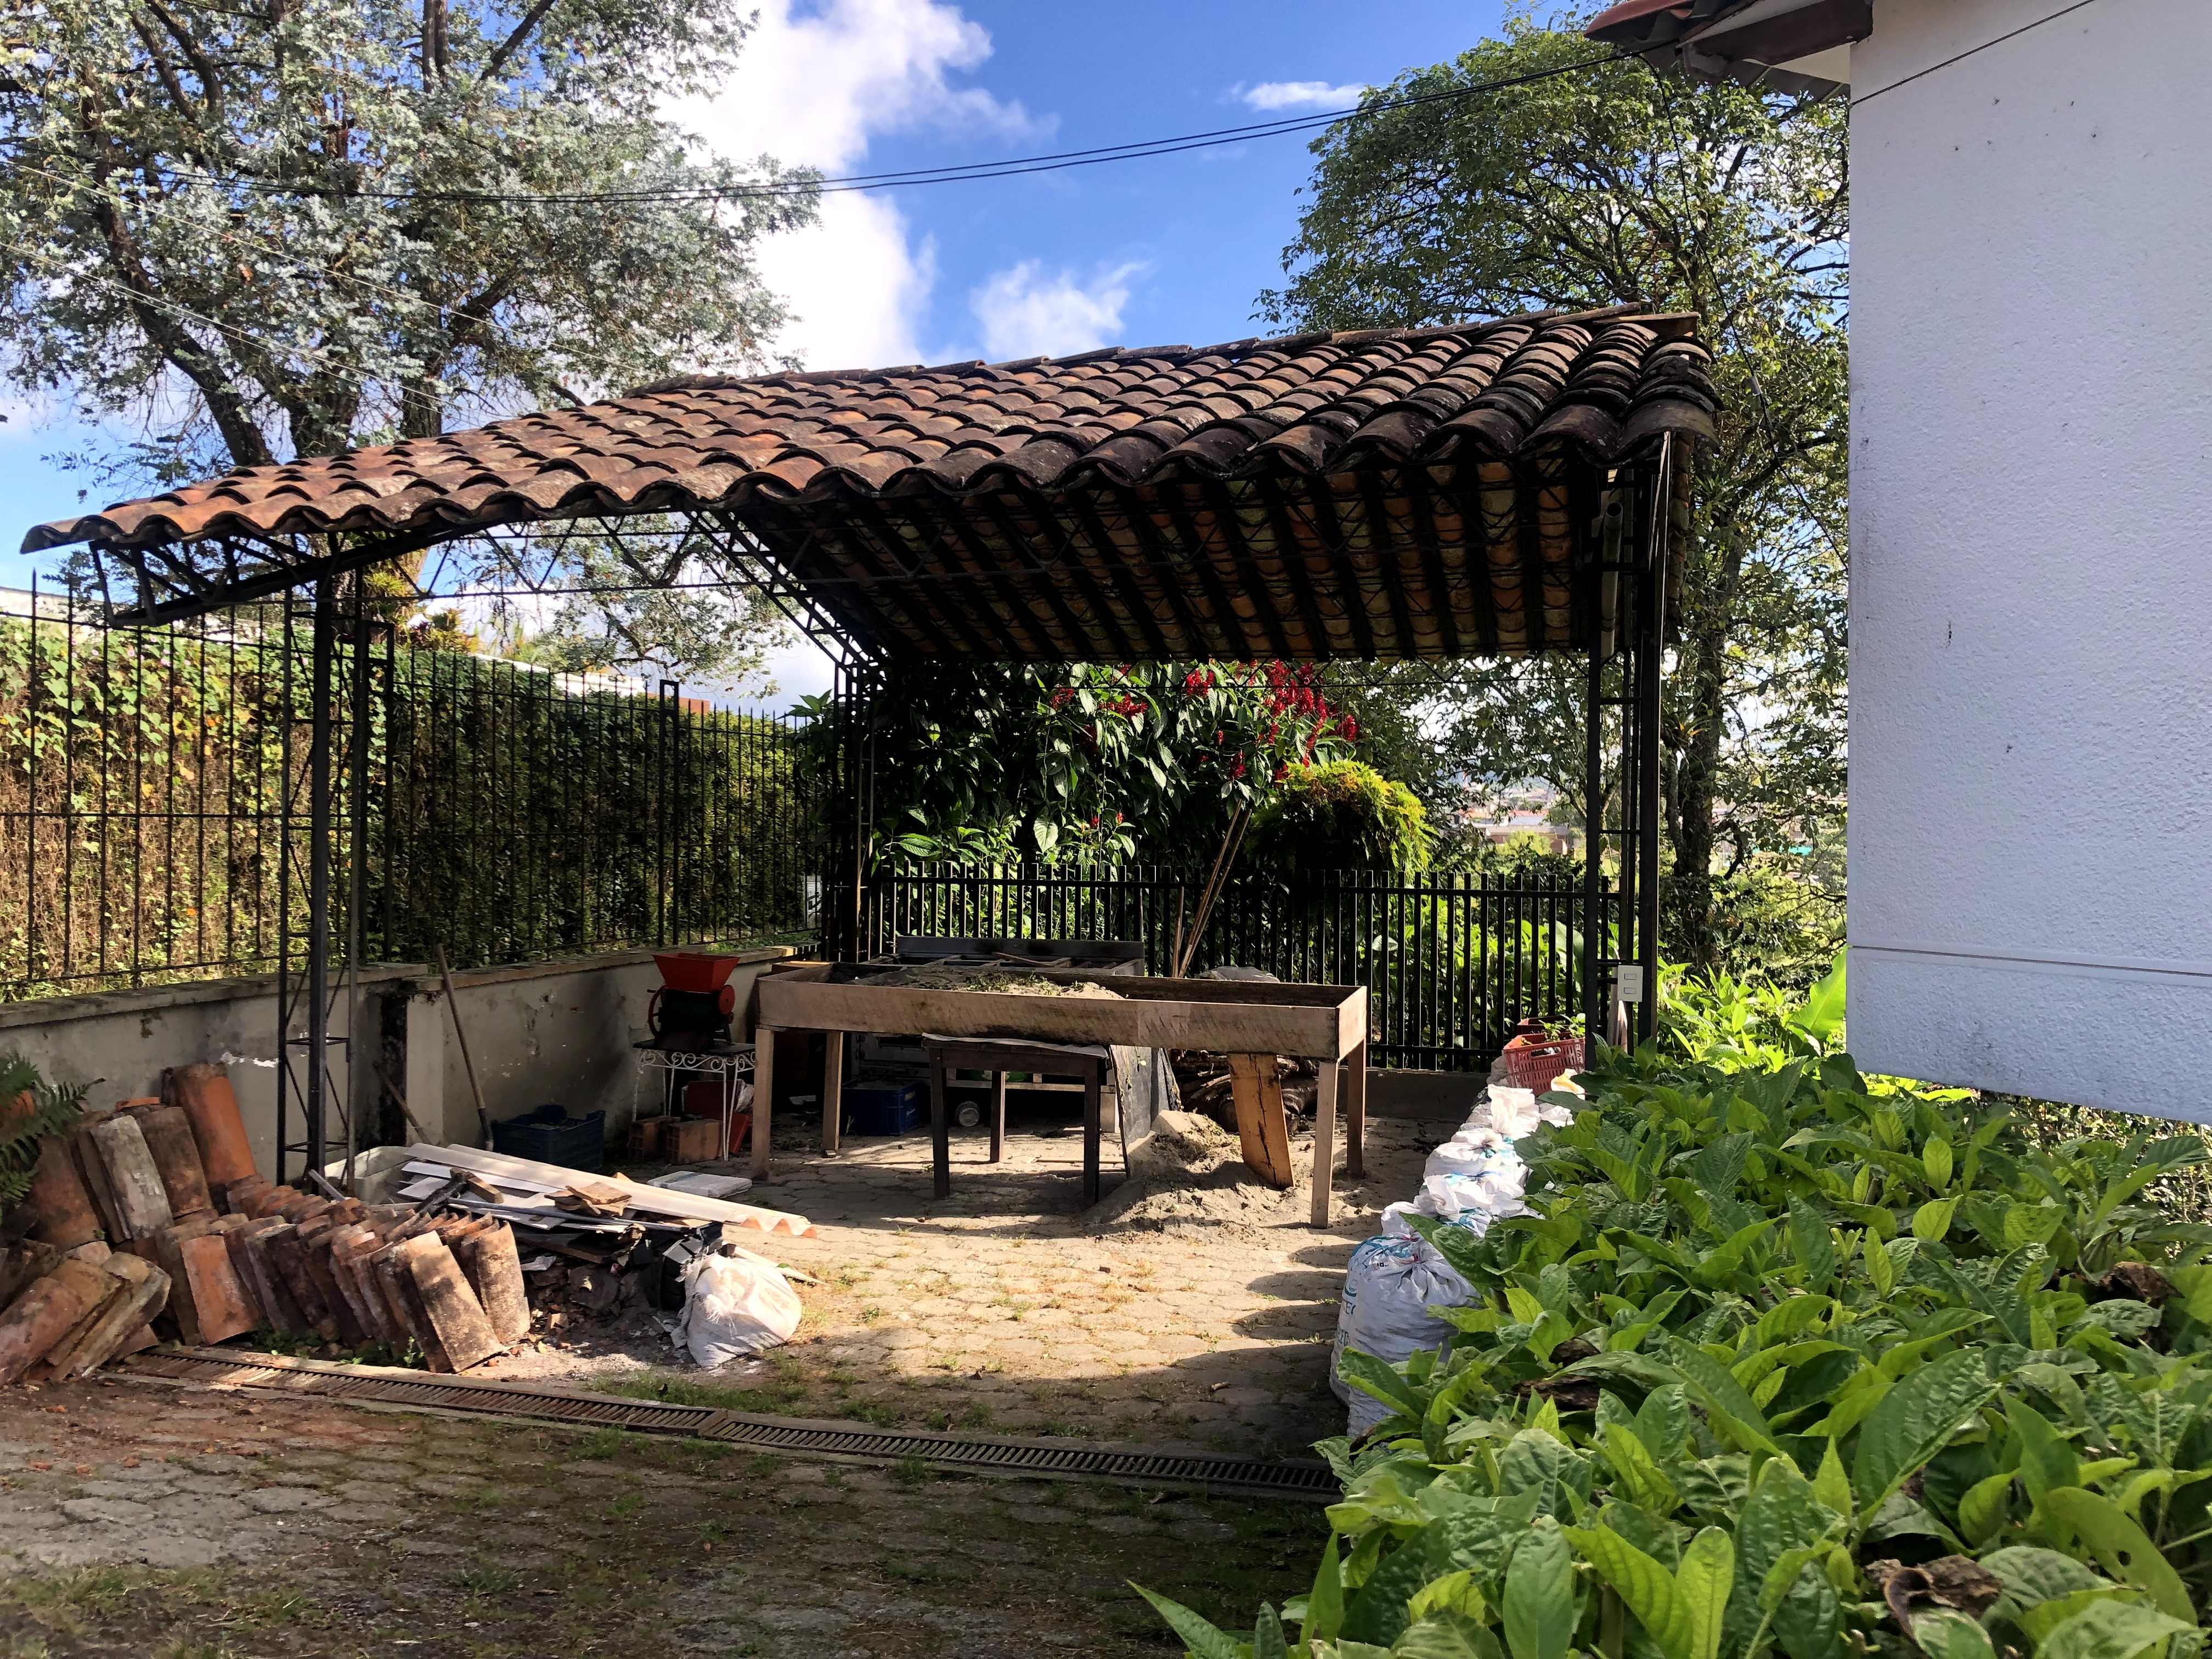
The first stage in growing coffee is planting it! The first stage of planting, of course, is getting the seeds – something Miguel thankfully took care of. After receiving the dried coffee (in parchment), you plant it in a nursery for maturation. The seeds first grow in a nursery, which is essentially a large bed of fertile soil for the seeds to sprout in. Unfortunately, the only picture I have of a nursery is the one that Miguel’s dogs broke, but I’ll include one of a typical nursery as well:
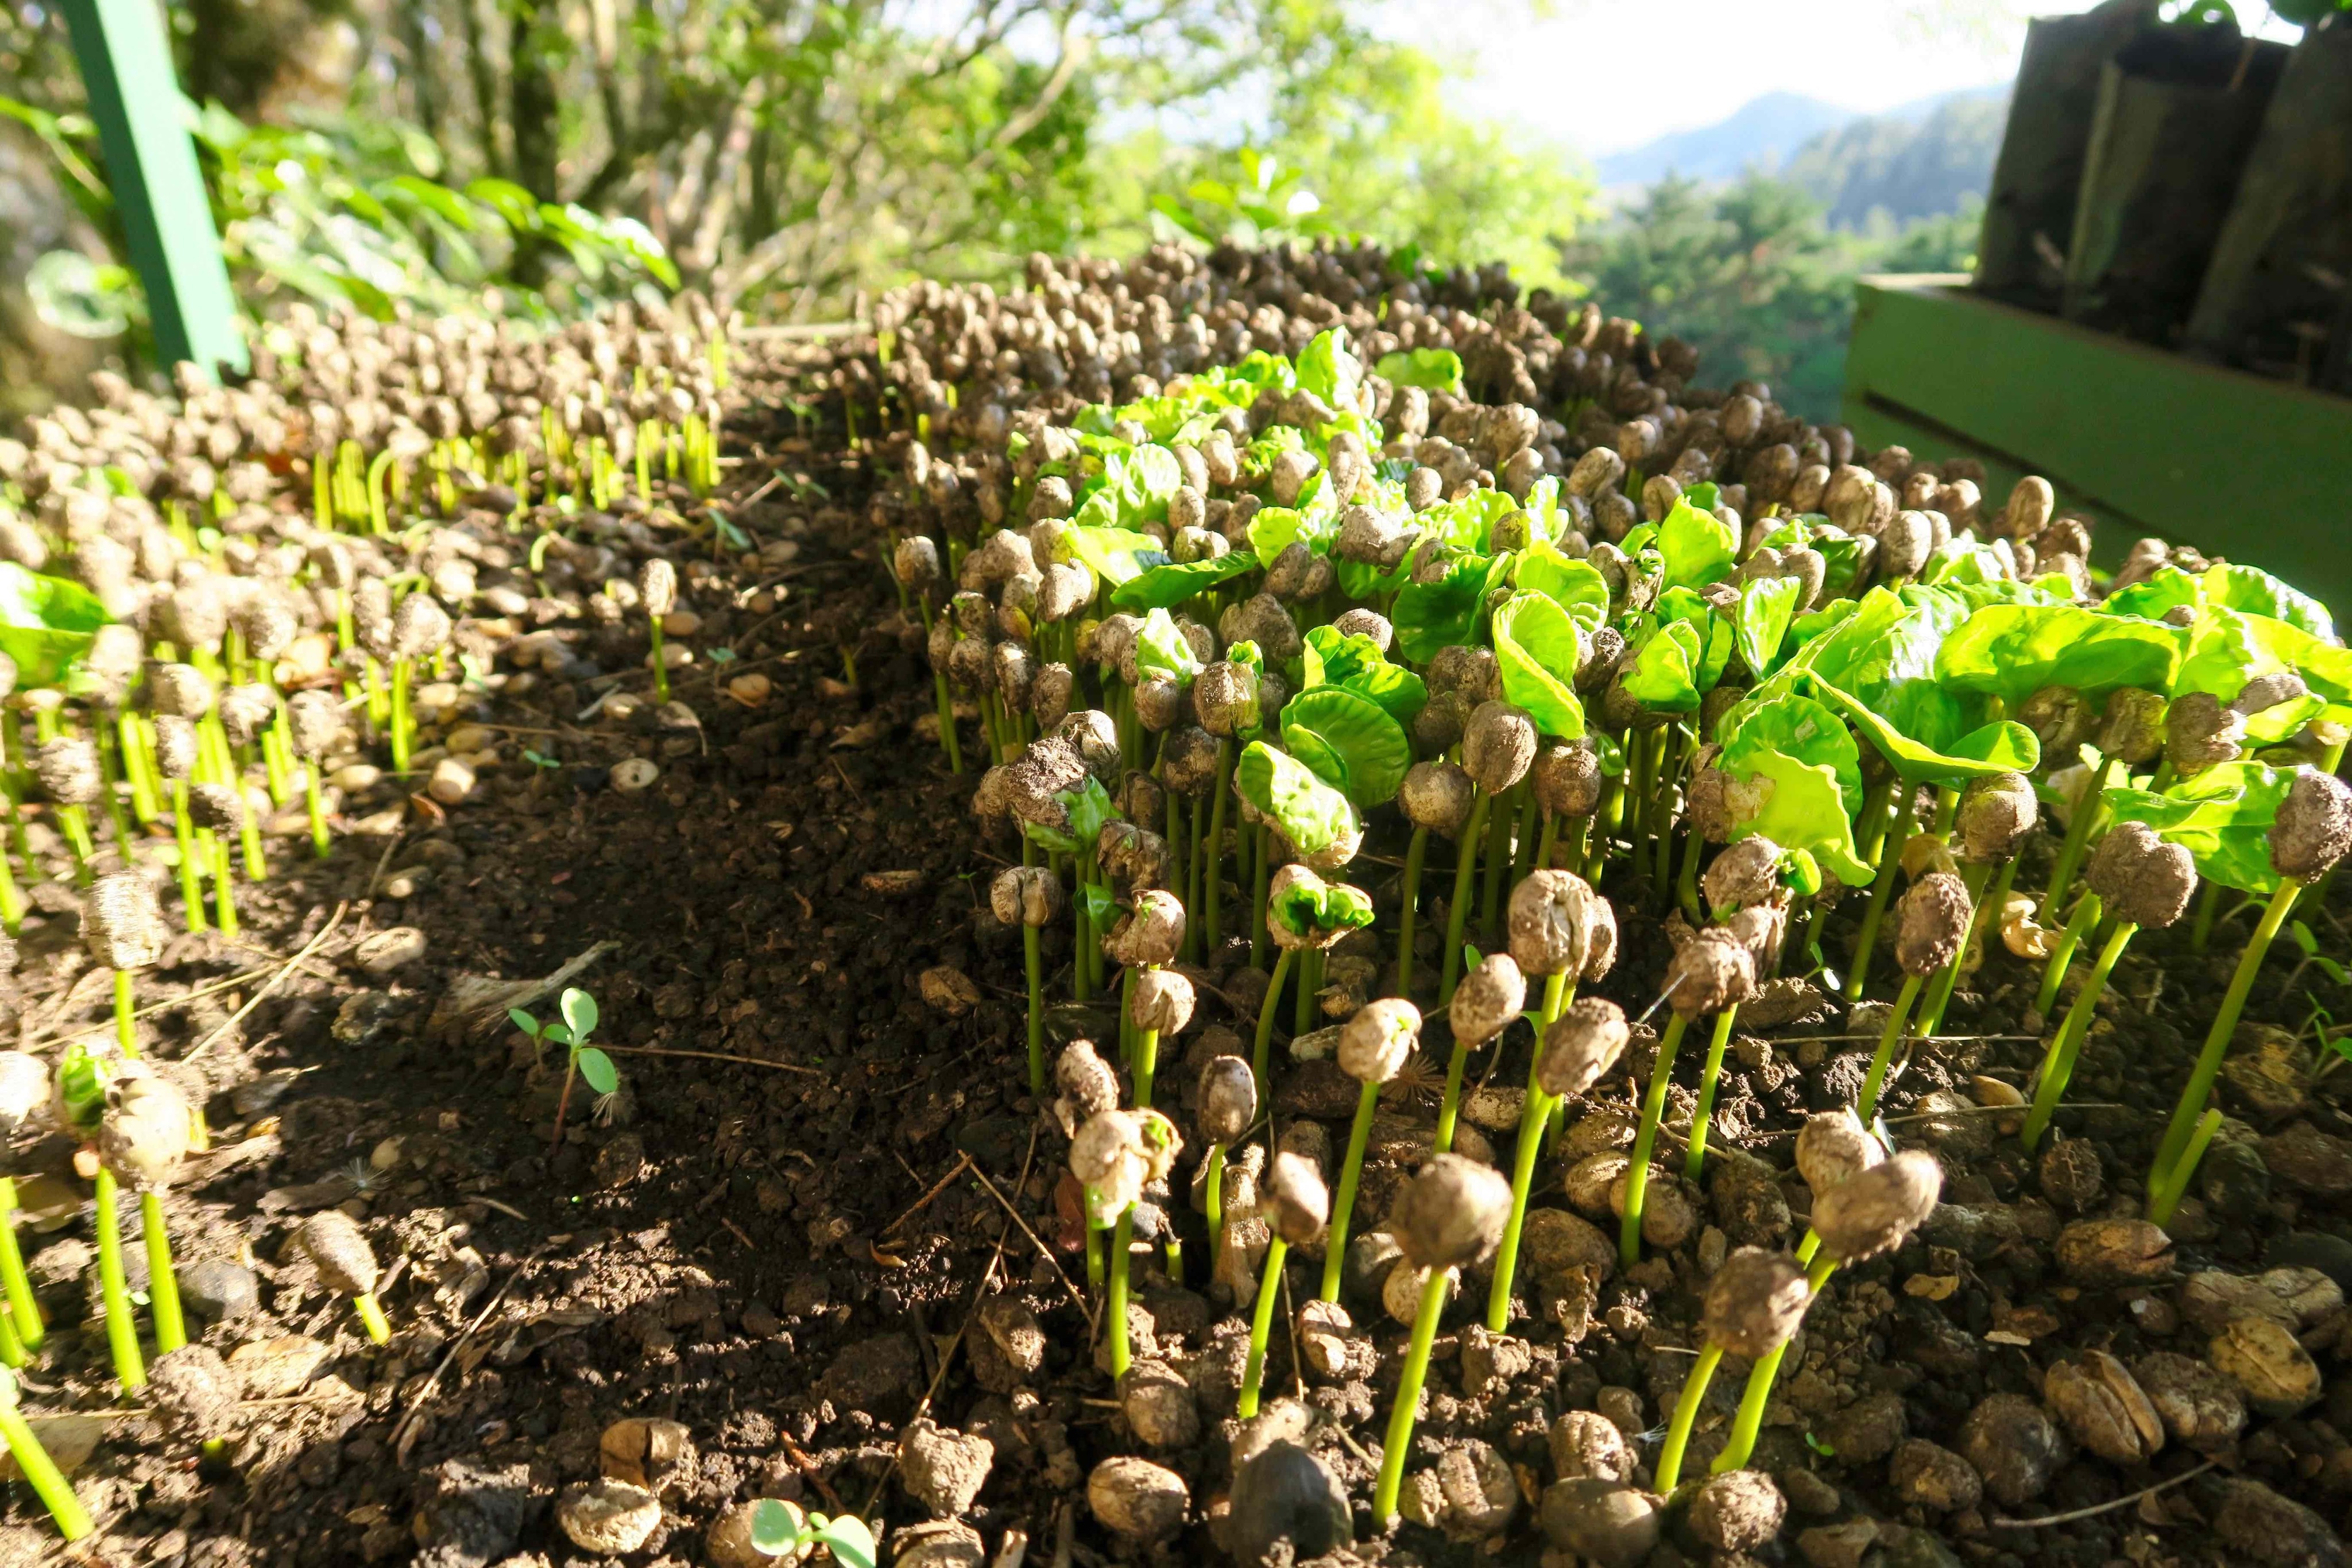
You harvest the sprouted seeds from the nursery to transplant into bags, at which point the chapolas turn into colinos, or seedlings.
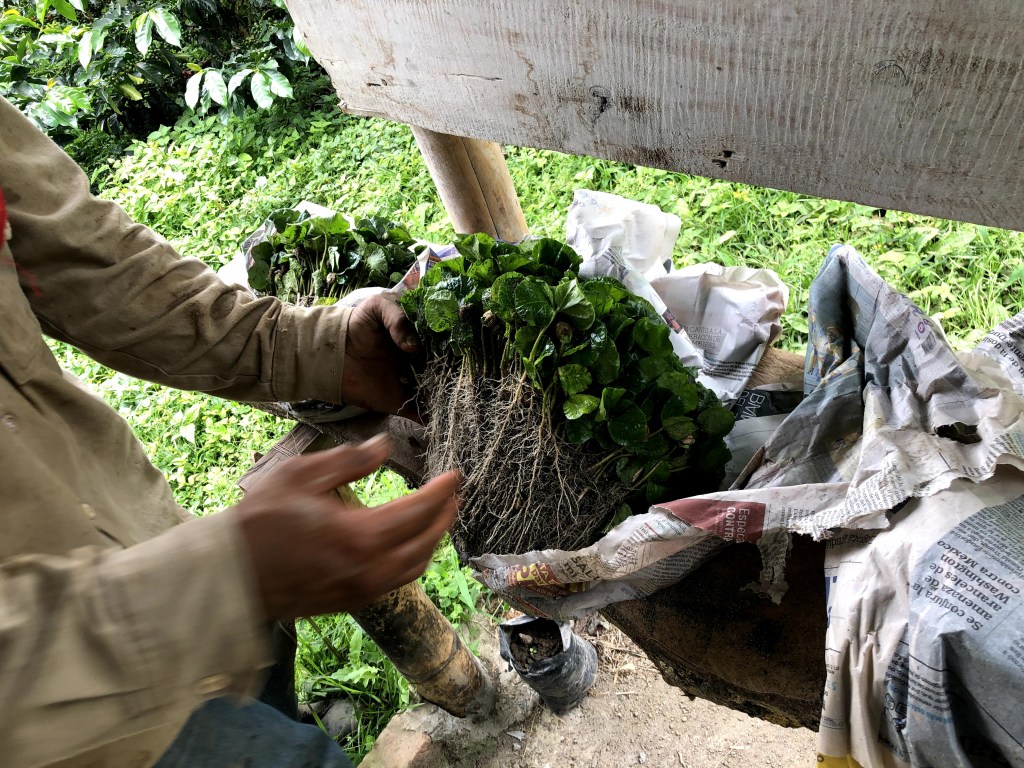

At this stage, it’s crucial to make sure that the soil for the colinos is nutrient-rich, free of pests, and soft. Make an indentation in the bag of soil roughly 10 cm deep and 2-3 cm in diameter for the chapola, and place the chapola in the hole. Make sure that the main root of the chapola is straight and does not bend against the bottom of the hole – if it does, you can break off the tip of the root or make the hole a little deeper.
After about 6 months of maturation, including frequent watering, the colinos are ready to plant and turn into genuine coffee trees.
Coffee Plants
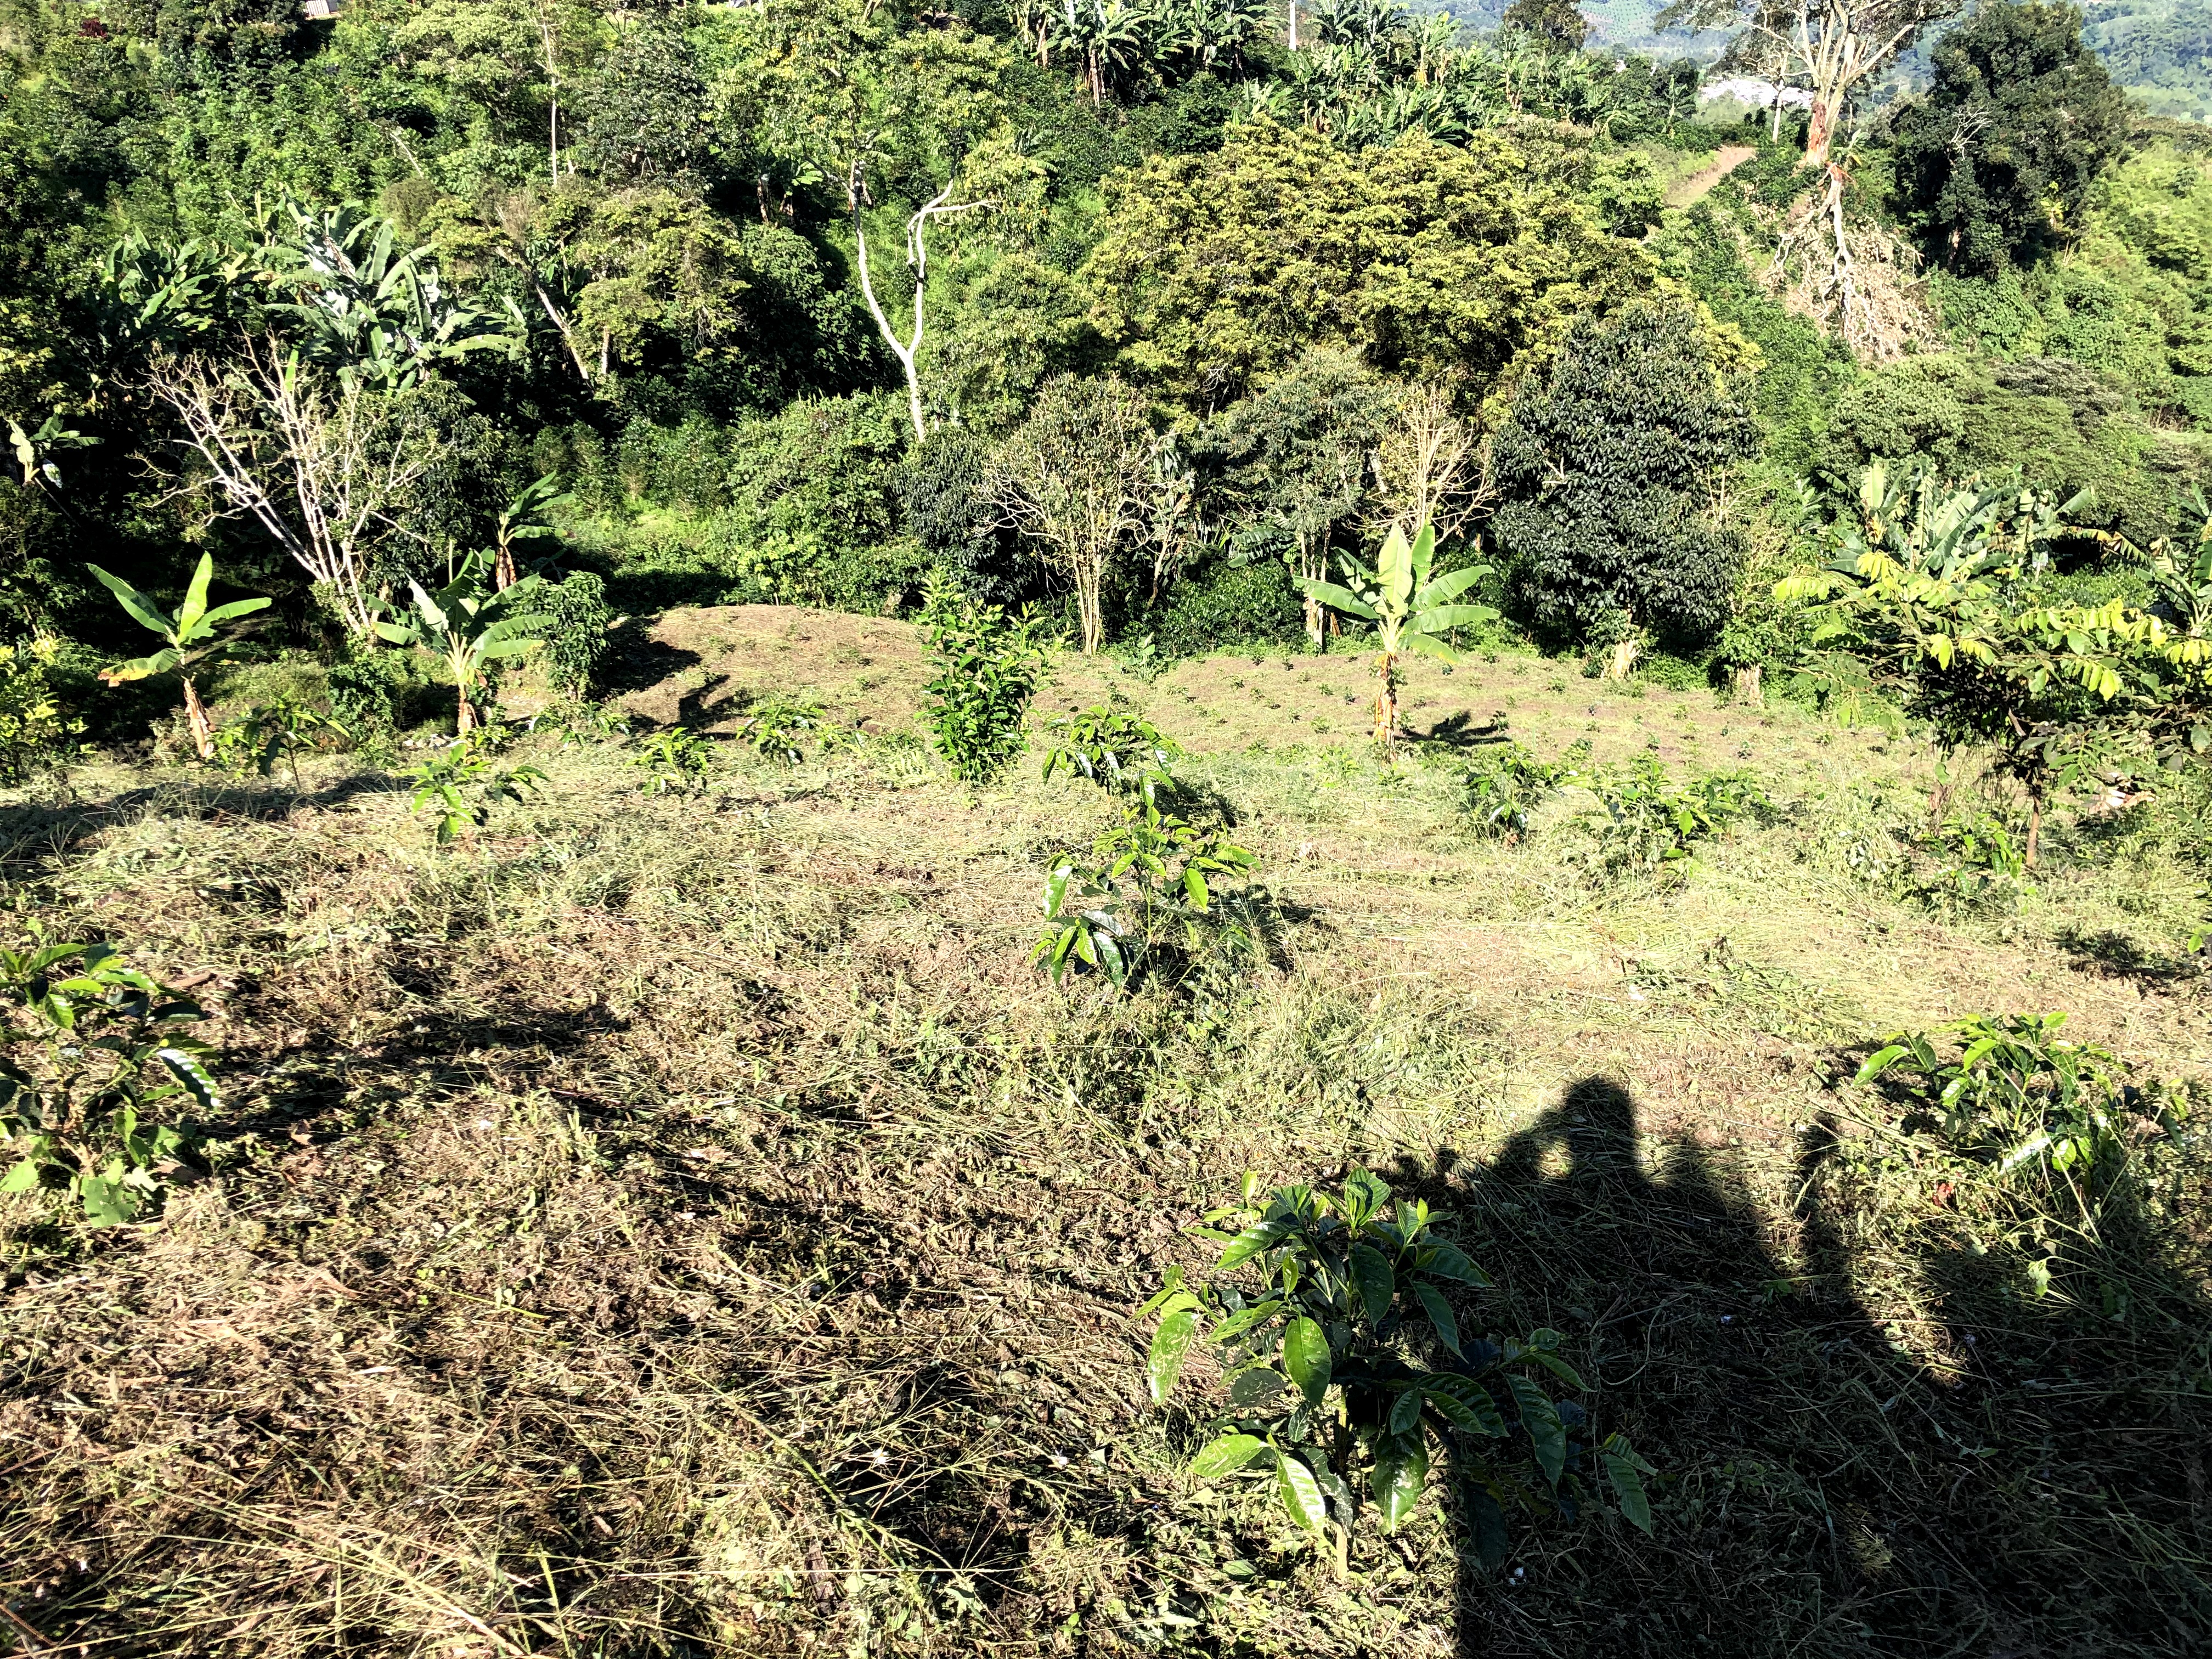
Planting the coffee tree is perhaps the most important step in its lifespan. In order to ensure a long and healthy life, it’s important to first plot the layout carefully. This will help make sure that each tree has sufficient room to grow. An even layout will also be crucial for harvesters and pickers, as regularly spaced trees with enough space to walk between greatly improves picking efficiency.
After laying out the plot, the colinos are heavily watered and brought individually to each hole to plant. The holes should be about 30cm deep and 20cm square. Gently add fertilizers (such as micronutrients or calcium) and micro-organisms to the hole before planting to help the root system accept the new soil. When planting, first clear the ground surrounding the hole to make it flat and clean of grass. Then, delicately remove the bag from the colino to try to keep the cylinder of dirt (and the root system of the plant) intact. Carefully lower the exposed and moist root system into the center of the hole, level on the bottom. Make sure the tree is standing straight up, then begin to fill the hole with surrounding dirt. Press the dirt into the crevices between the hole and the colino such that the tree cannot wiggle in the hole. Finally, re-flatten the dirt surrounding the newly planted tree and remove the plastic bag to properly dispose of it.


Maturation
Between planting and harvesting is the most boring part of coffee production. It usually takes at least two years from planting before the plant’s first harvest, but the plant does not reach full maturity (and full production) until about 5 years after planting. One of the most important things to do in this in-between time is making sure the plants have enough nutrients through fertilization, either with organic compost or chemically fixed fertilizers.
While there are pros to both, generating enough compost to use only organic fertilizer is incredibly costly and logistically challenging. Miguel estimates that it takes 12kg of compost to fertilize a tree, while it only takes about 100 grams of chemically fixed fertilizer. (Imagine carrying 12kg of dirt to each of the one or two thousand trees per hectare!) Furthermore, chemically fixed fertilizers often have micronutrients like zinc, boron, and magnesium that are hard to get in compost.

When ready to produce fruit, the tree creates nodules along its branches which first flower before becoming cherries. Coffee blossoms are one of the most beautiful smells on earth, and I wish you could smell them as I have for the summer.

In about 6 months, these flowers become green cherries:
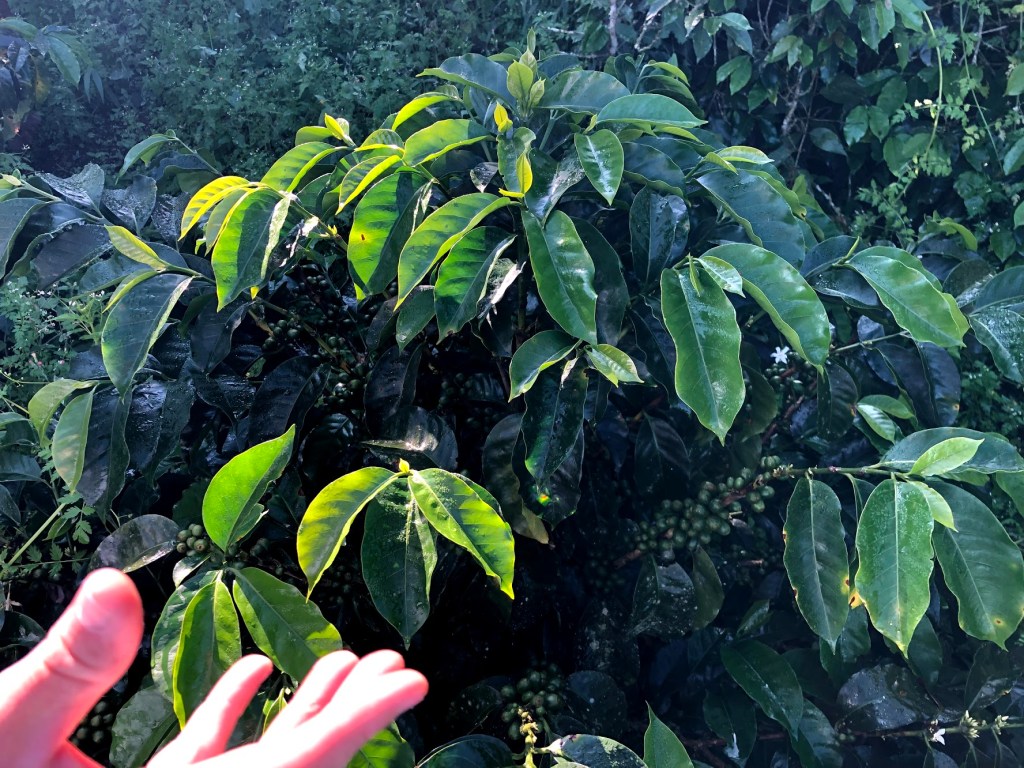

Finally, more than 3 years since planting in the nursery, the cherries are ready to harvest:
This is where my saga of the Pink Bourbon really begins, as I didn’t have much of a hand in planting or growing these trees. But from here on out, I was responsible for every step of production for the very small batch (femto-lot?) I ended up with. (This project was one that I wanted to say I completed in its entirety – having full ownership of harvesting, processing, roasting, and serving one coffee – but I did many other projects throughout my time on the farm. Not to worry, I did not spend 5 weeks on this tiny batch of coffee!)
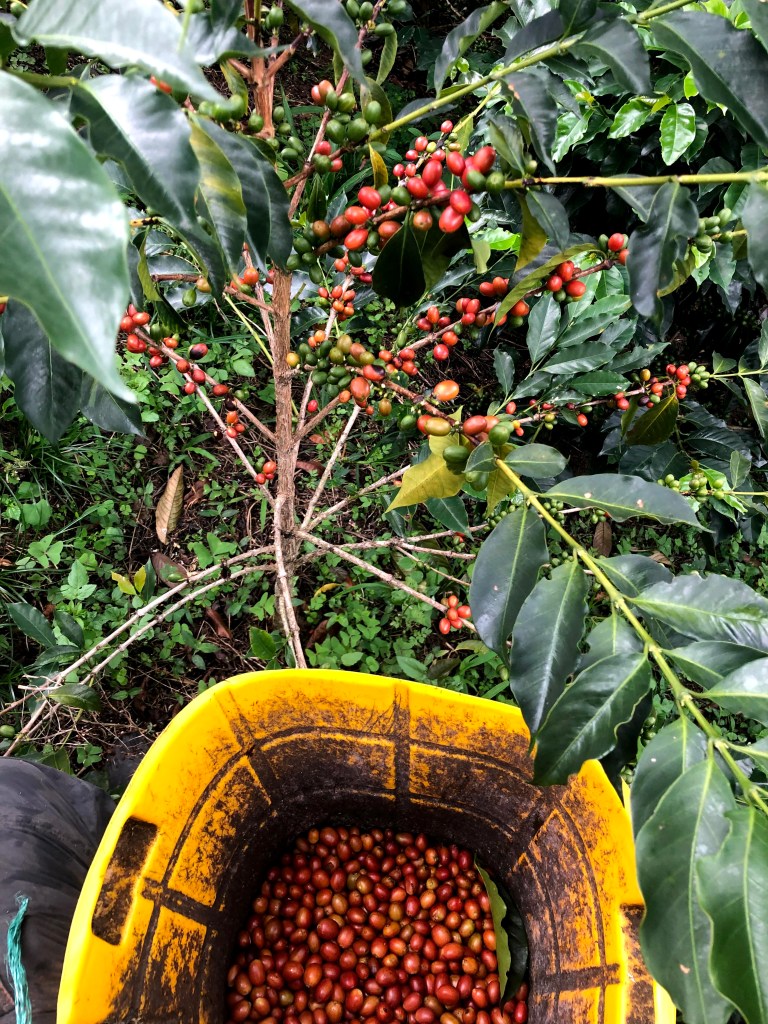
Harvesting coffee cherries seems relatively straightforward: pick the ripe cherries, one might think! Unfortunately, labor incentives are often aligned such that pickers are paid by the kilogram, as this is more efficient for the farm owner, which rewards volume over quality. As such, pickers will fill buckets as quickly as they can with unripe cherries mixed in with ripe ones, resulting in poor cup quality. In fact, hand-picking in and of itself is considered crucial step in the quality control process, as machine picking, while extremely efficient, is unable to select for ripeness. El Fénix pays by the day (and quite well), which allows pickers to be more discerning in selecting for ripeness.
I spent a day alone in the Pink Bourbon lots harvesting my own batch of coffee.

At the end of the day, the sacks of freshly picked cherries are dropped off at the wet mill for processing. In my opinion, this is where the real fun begins.
Trust the Process
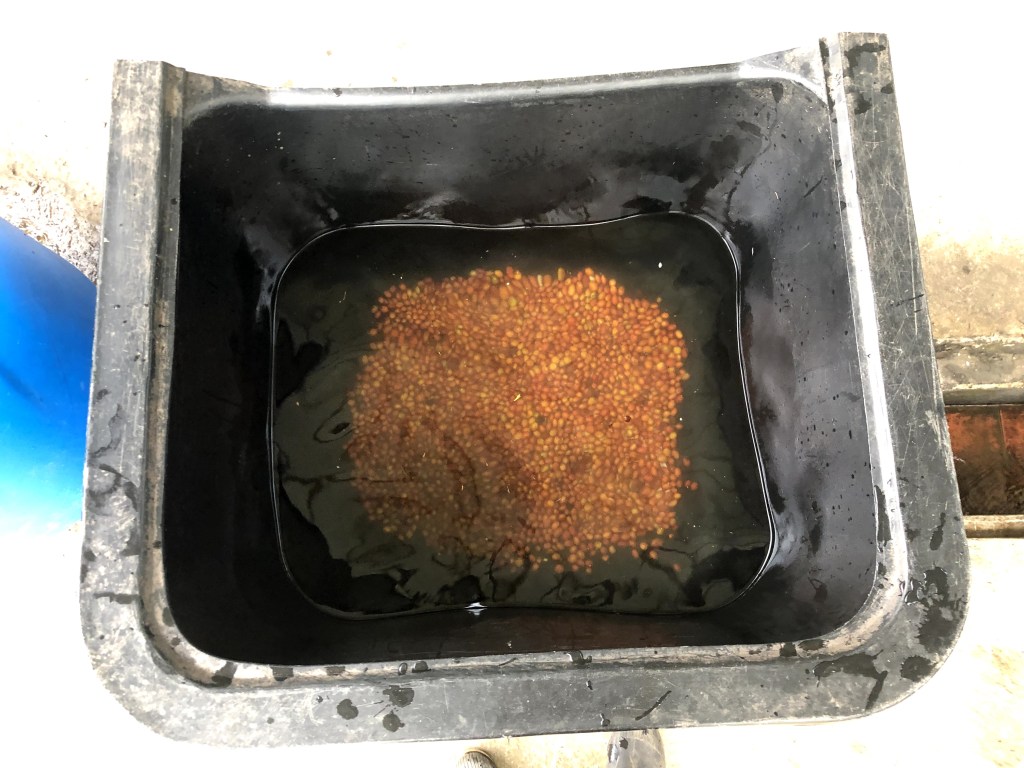
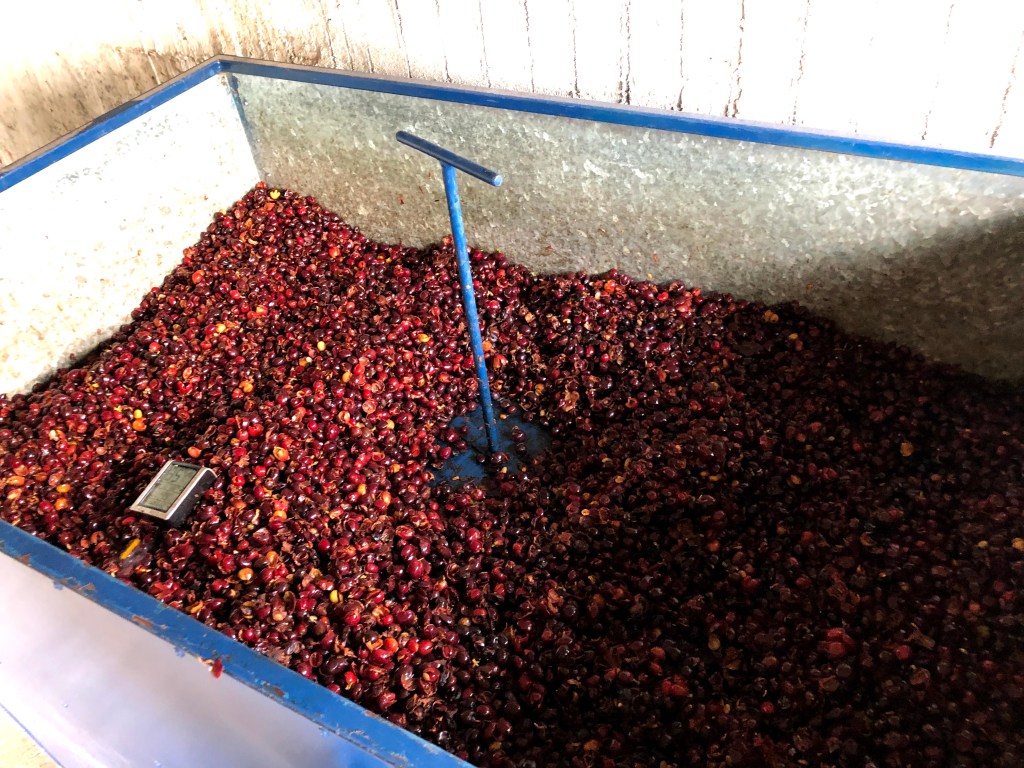
For this small batch of Pink Bourbon, I opted for the washed process with a rather short, 16-hour anaerobic fermentation time. The cherries themselves were not fermented (or at least not on purpose – some fermentation naturally happens in the bucket as you collect cherries throughout the day); instead, I fermented the parchment coffee. Before fermentation and processing can begin in earnest, though, it’s important to conduct a first round of quality control by submerging the cherries in water and removing the floaters.

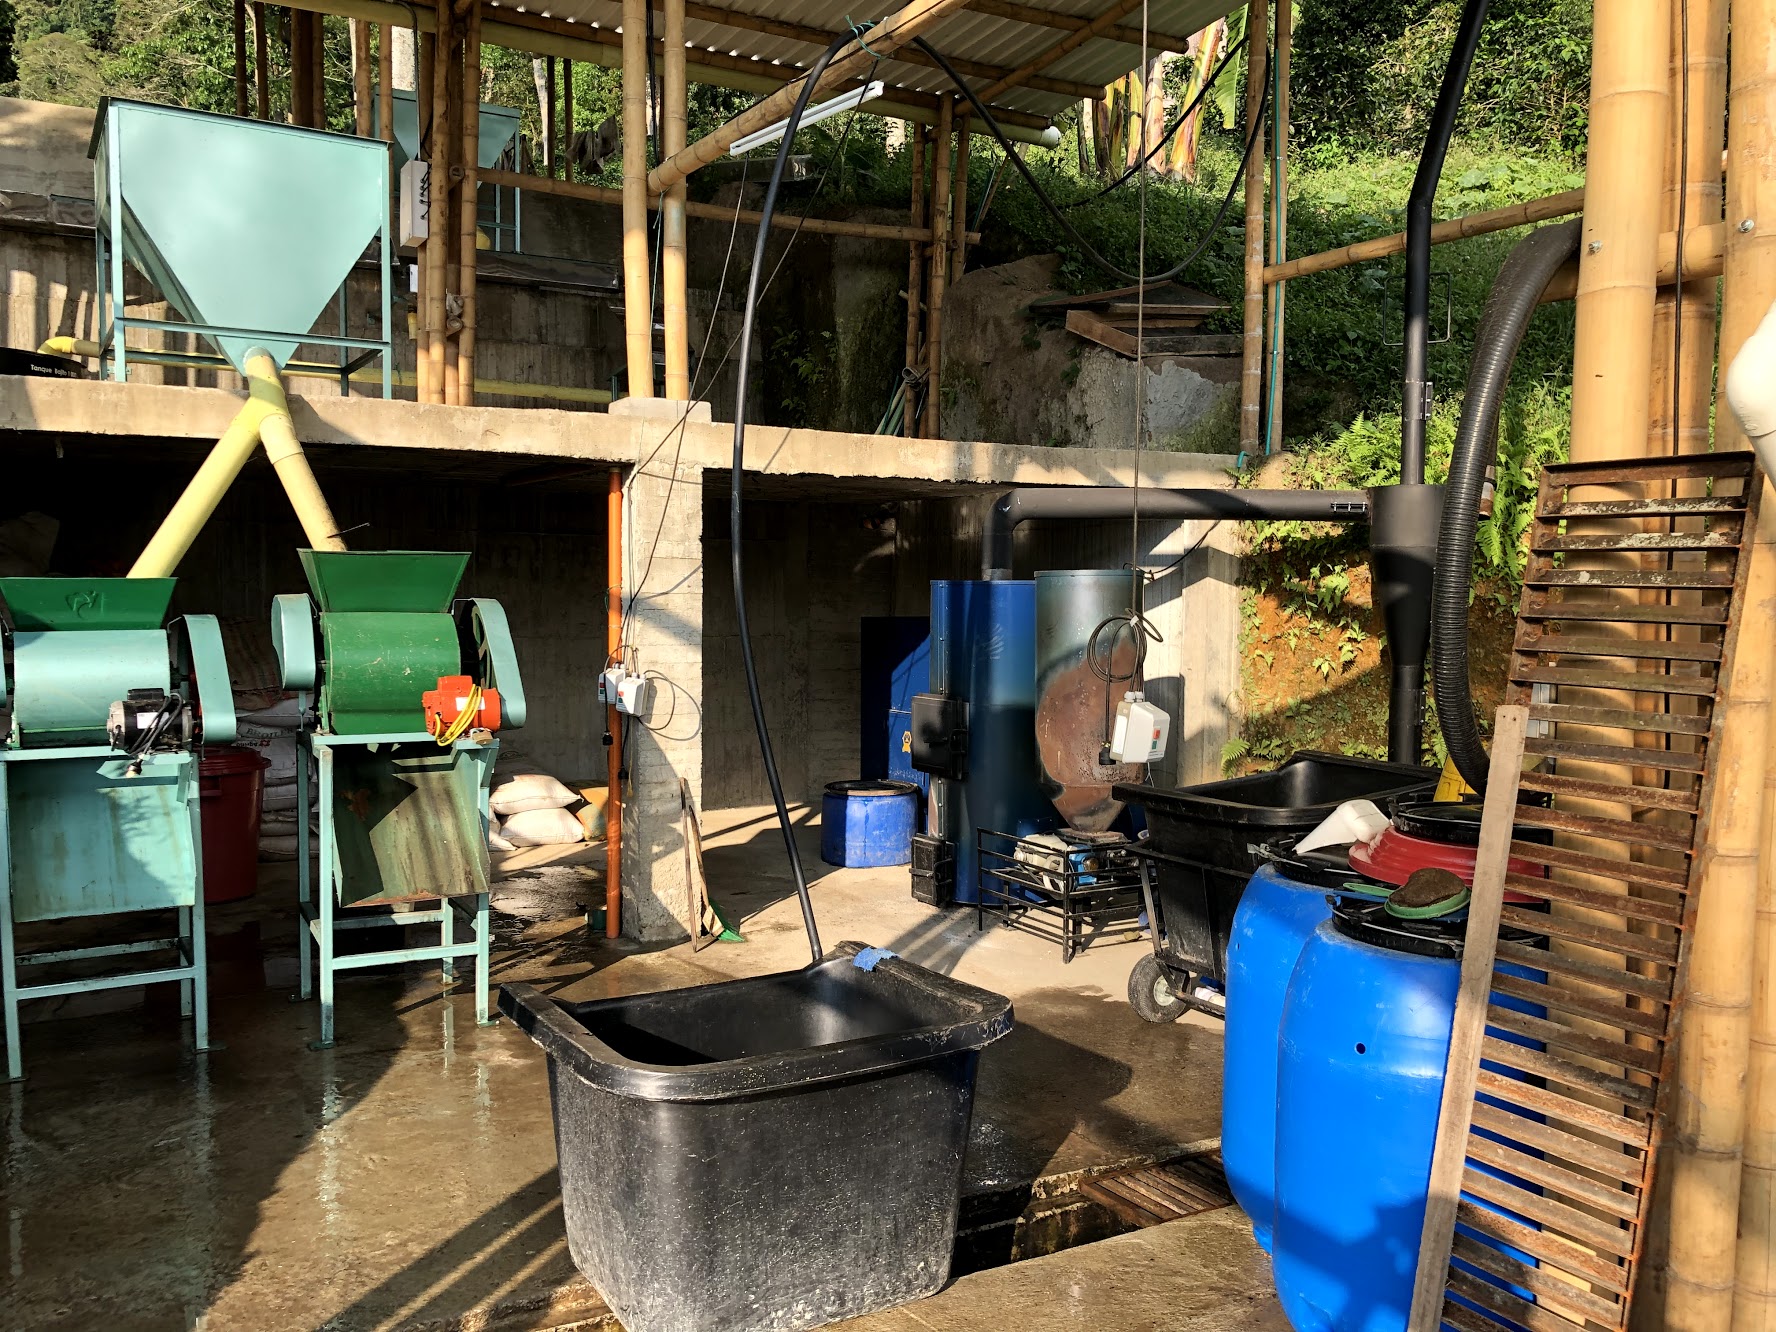
From here, I pulped the coffee. Before and after pulping, you must thoroughly clean the pulping machine to remove fermented mucilage and other contaminates.
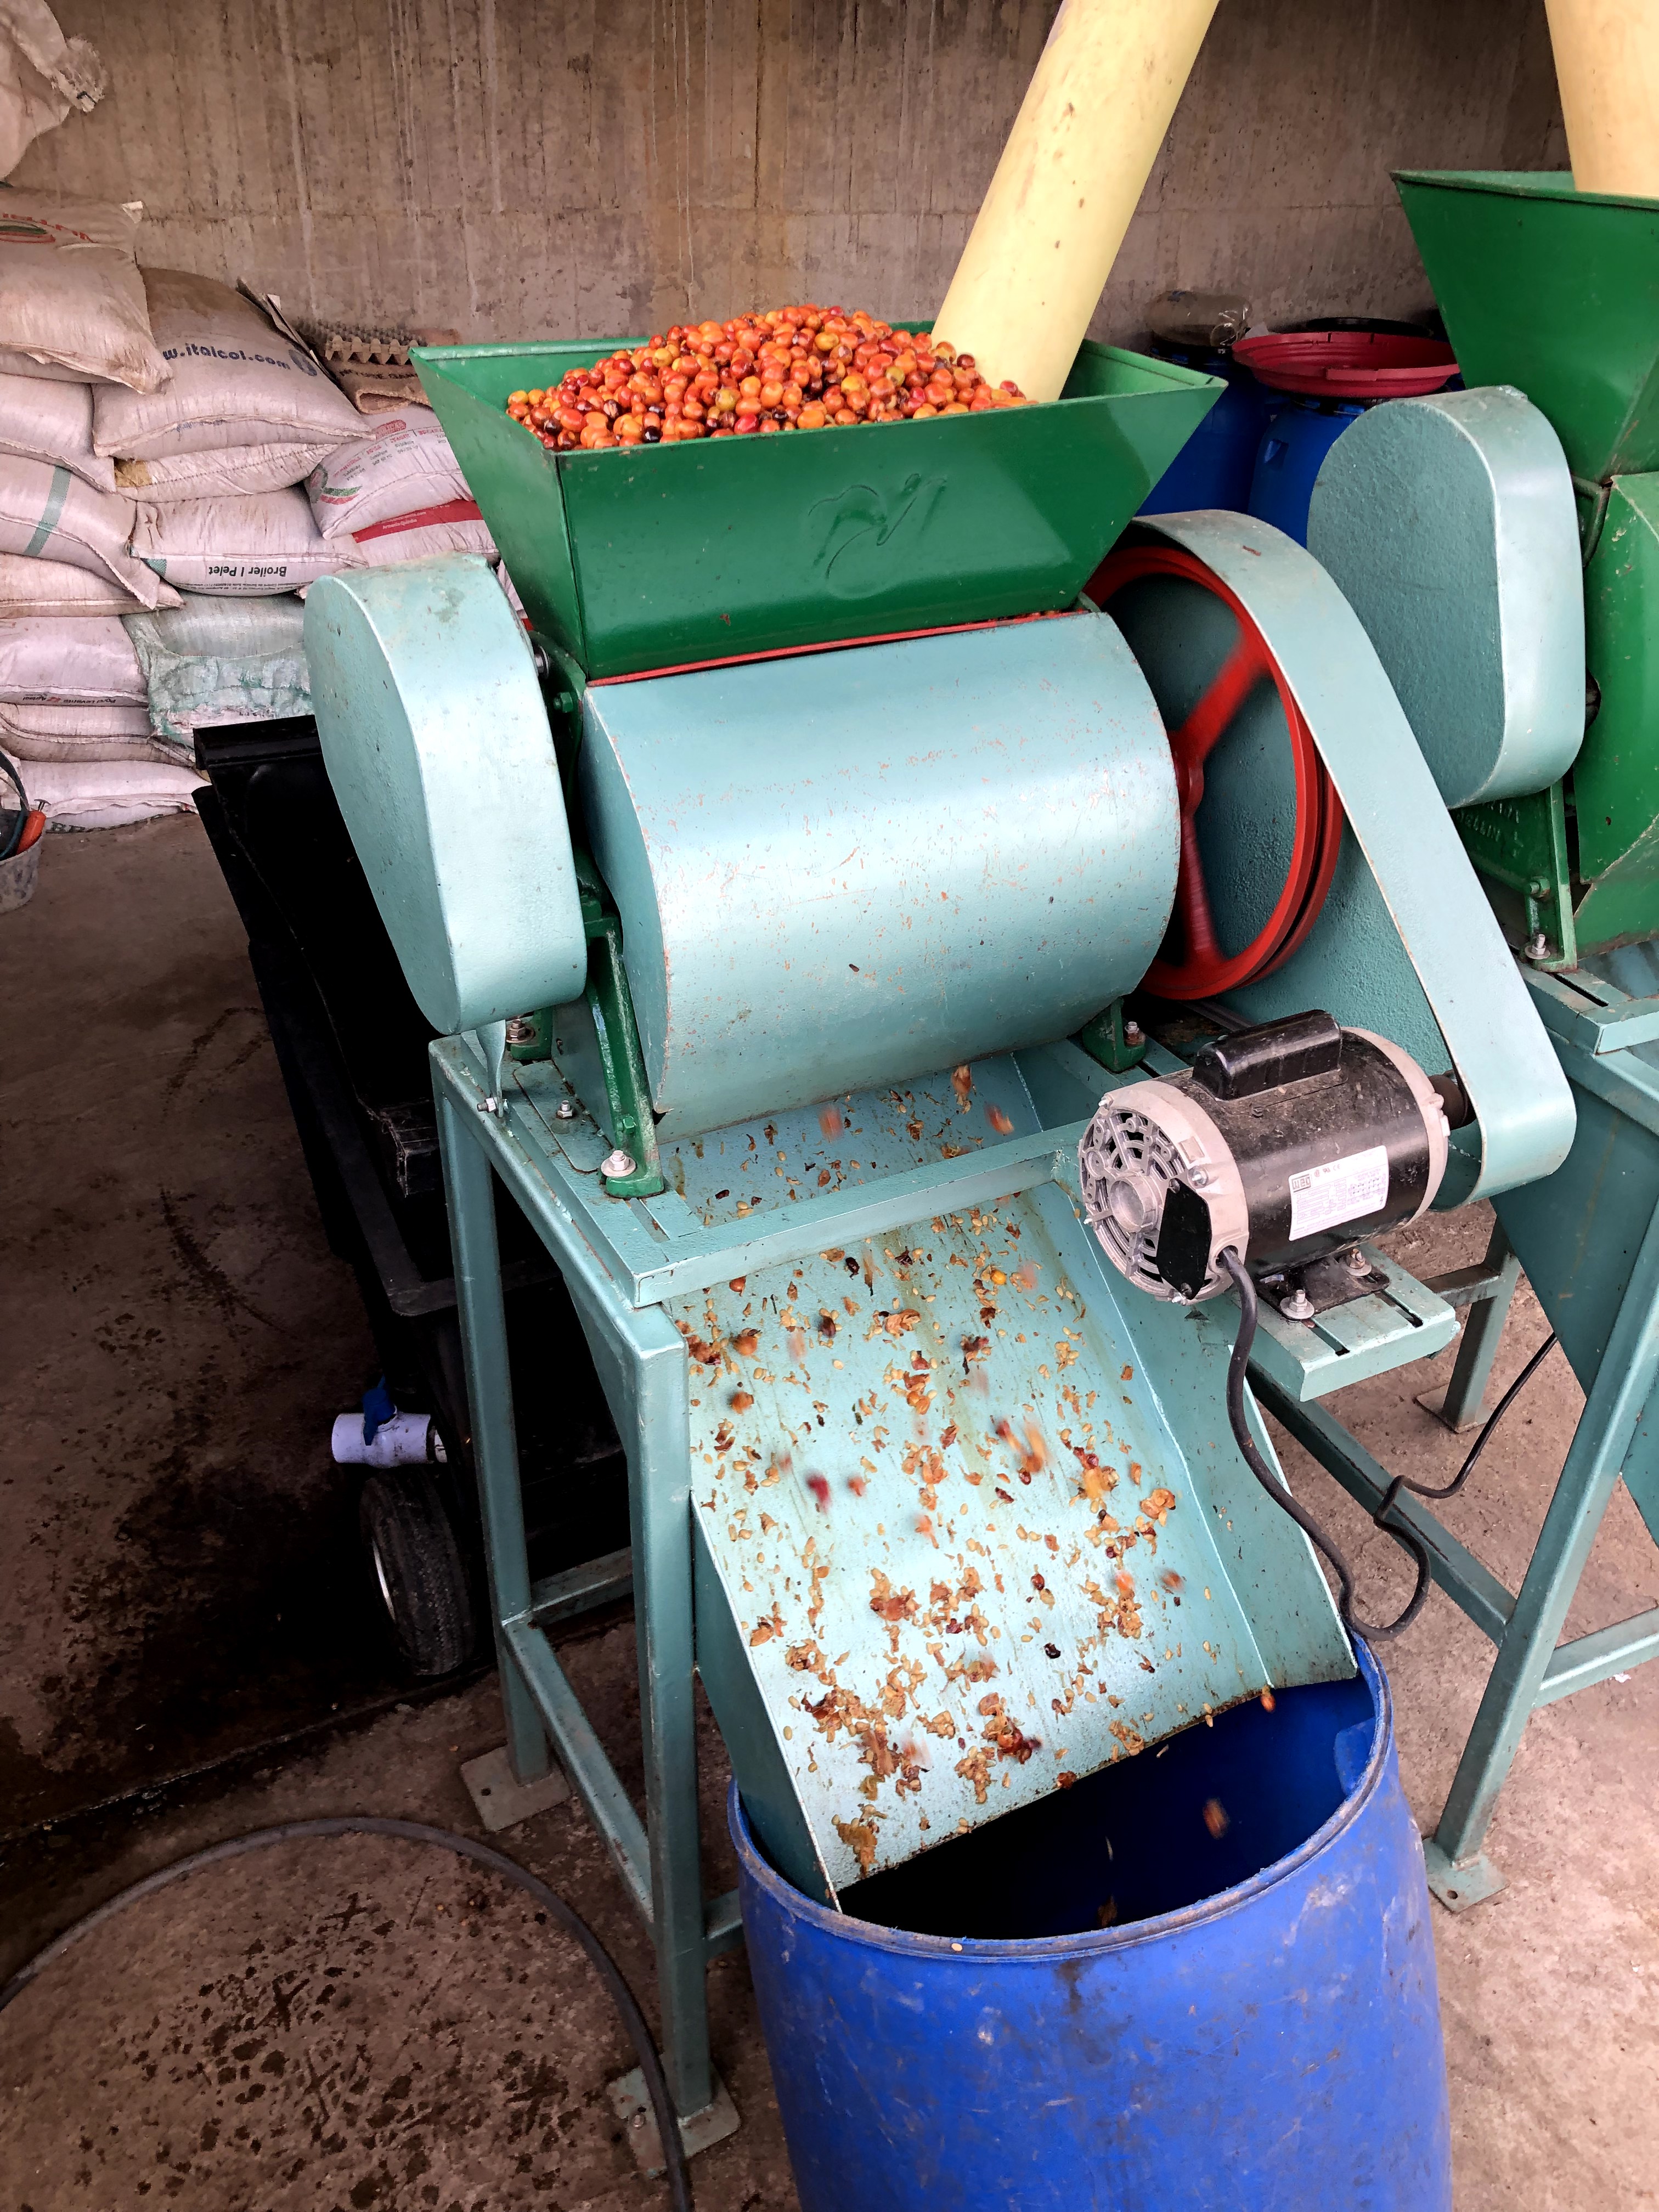
The pulper separates the bean from the cherry such that you’re left with one bucket of beans covered in the sticky mucilage of the cherry and another bucket of pulped cherry skins. At this stage, you can remove the cherry skins and dry them separately to make cascara. Pink Bourbon makes excellent cascara due to the very high sugar content in the cherry. I think it’s best to directly move the cascara to a mechanical drying machine that can immediately lock in the flavor, rather than allowing the cherry skins to dry slowly in a greenhouse or on a patio.
Next, I was left with my bucket of parchment coffee.

There are a a number of ways to conduct anaerobic fermentation, the simplest being laying some plastic on top of a bucket to seal it from the air. For this batch, I sealed the parchment inside of a GrainPro bag and submerged it in water to help maintain a cool temperature, which slows down fermentation.

After 16 hours of anaerobic and cooled fermentation I opened the bag. In coffee fermentation, the simplest way to evaluate the stage and quality of fermentation is through smell. (The most common advanced method is through pH, which is a very helpful indicator. Like the vast majority of farms, we didn’t have a pH meter.) There are a number of prominent aromas that the coffee fermentation gives off, and anaerobic fermentation allows you the perfect opportunity to capture all of them when opening the bag. The most common smells that I smelled were of malic acid and acetic acid, the latter usually indicating an extended fermentation that had gone on for a bit too long. I also frequently noticed fruity notes, especially of bananas. In fact, after the bananas we harvested began to rot and were devoured by fruit flies, I noted how similar that smell was to anaerobic fermentation of pink bourbon!
The last stage of processing before drying is washing the coffee. There are a number of complicated ways to wash coffee, but the most common is by simply stirring it in a bucket of fresh water.

At this stage, we once again remove the floating parchment. The beans that float are likely either from overripe cherries or have been damaged by insects, and taste very poor.
The coffee is fully washed once it no longer feels sticky or slimy, and instead has the smooth, somewhat grainy texture of river stones. They also make the sound of rubbing stones together once the mucilage has all been removed. Because of my short and cooled fermentation of the pink bourbon, it took me significantly longer to wash the remaining mucilage off, as it had not fully broken down.
After washing, the coffee is ready to dry. I dried my pink bourbon on a raised bed outside of the greenhouse in direct sunlight.
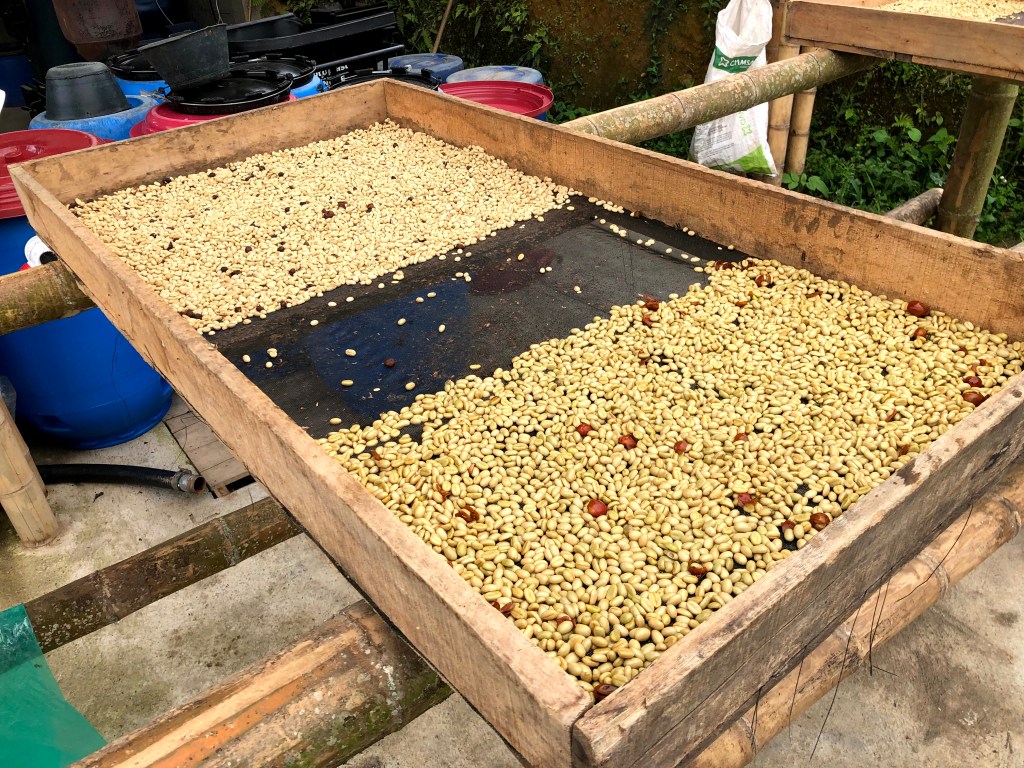
You may also manually remove some of the cherry skins that made it into the dried coffee. In the SCA’s green coffee defect categorization, a single cherry pod disqualifies a coffee from earning the specialty grade. However, the dry mill frequently removes such defects automatically, so it isn’t a critical step.
Knowing when the coffee has finished drying can be done in one of two ways: through a grain moisture content measuring device, or intuitively by hand. The moisture measurement devices are frequently found at mills and purchasing locations, to make sure that coffee coming in is within the desired humidity range of 10-12%. However, few farms have access to such equipment; thus, producers have a few methods to tell if the coffee is dry by hand.
The simplest is by visual inspection. After removing the parchment, dried coffee will have a light green color with a papery, slightly peeling layer of silver skin. Coffee that is not yet fully dry will appear darker in color, slightly swollen, and with a less visible silver skin.
My preferred method was by biting it! Dry coffee is extremely hard and will hurt your teeth if you try to eat it. Coffee at above 15% humidity, though, will be fairly easy to bite all the way through.
Pergamino
After finished drying, the coffee is officially en pergamino and ready to be sold at the local market. All coffee selling in Colombia happens in pergamino, or parchment, whereas other countries have different systems. In east Africa, for example, producers will often bring their coffee to washing stations (wet mills) where it is sold in the cherry.
Coffee is transported in 70kg jute bags, and specialty coffee is almost lined with a GrainPro liner to stabilize humidity and prevent the coffee from tasting like jute. In parchment, the bags only weigh about 40kg, because the parchment skin takes up a lot of space and is mostly air.

The coffee is then brought in to a dry mill, which not only removes the parchment but often also has an integrated QC system like a color sorter to remove defective coffee or a staff of highly trained hand-pickers who manually remove defects.
My pink bourbon didn’t quite fill a 70kg GrainPro, though. Instead, I put it in a plastic shopping bag to bring to Armenia and mill on a micro-mill.

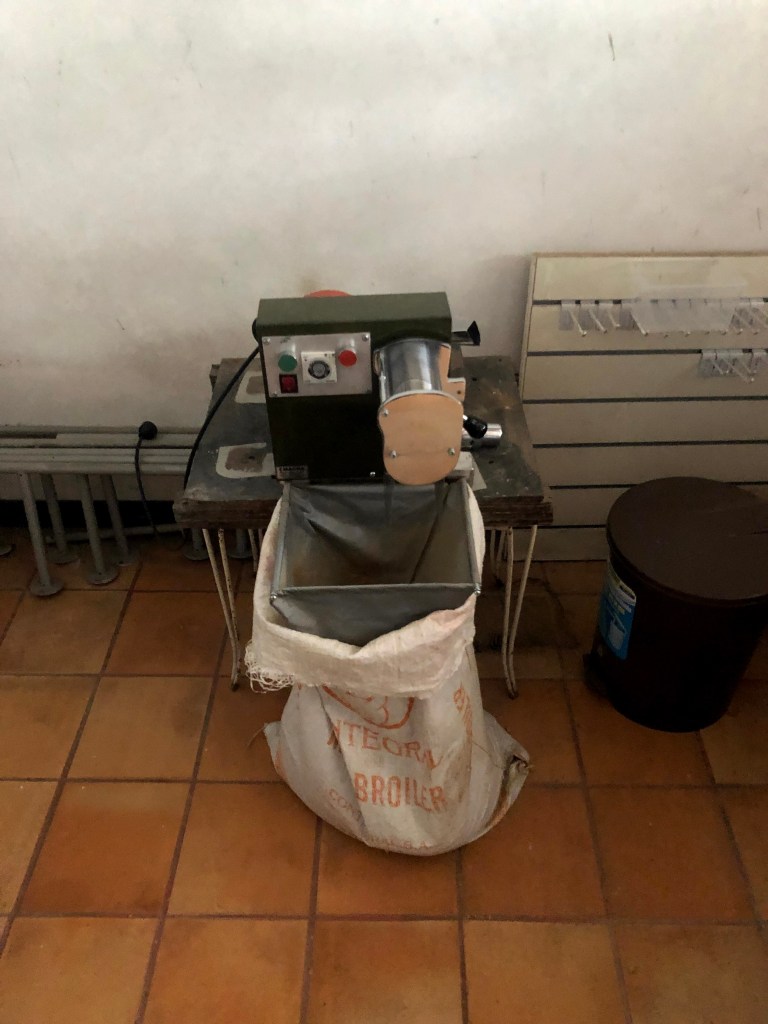

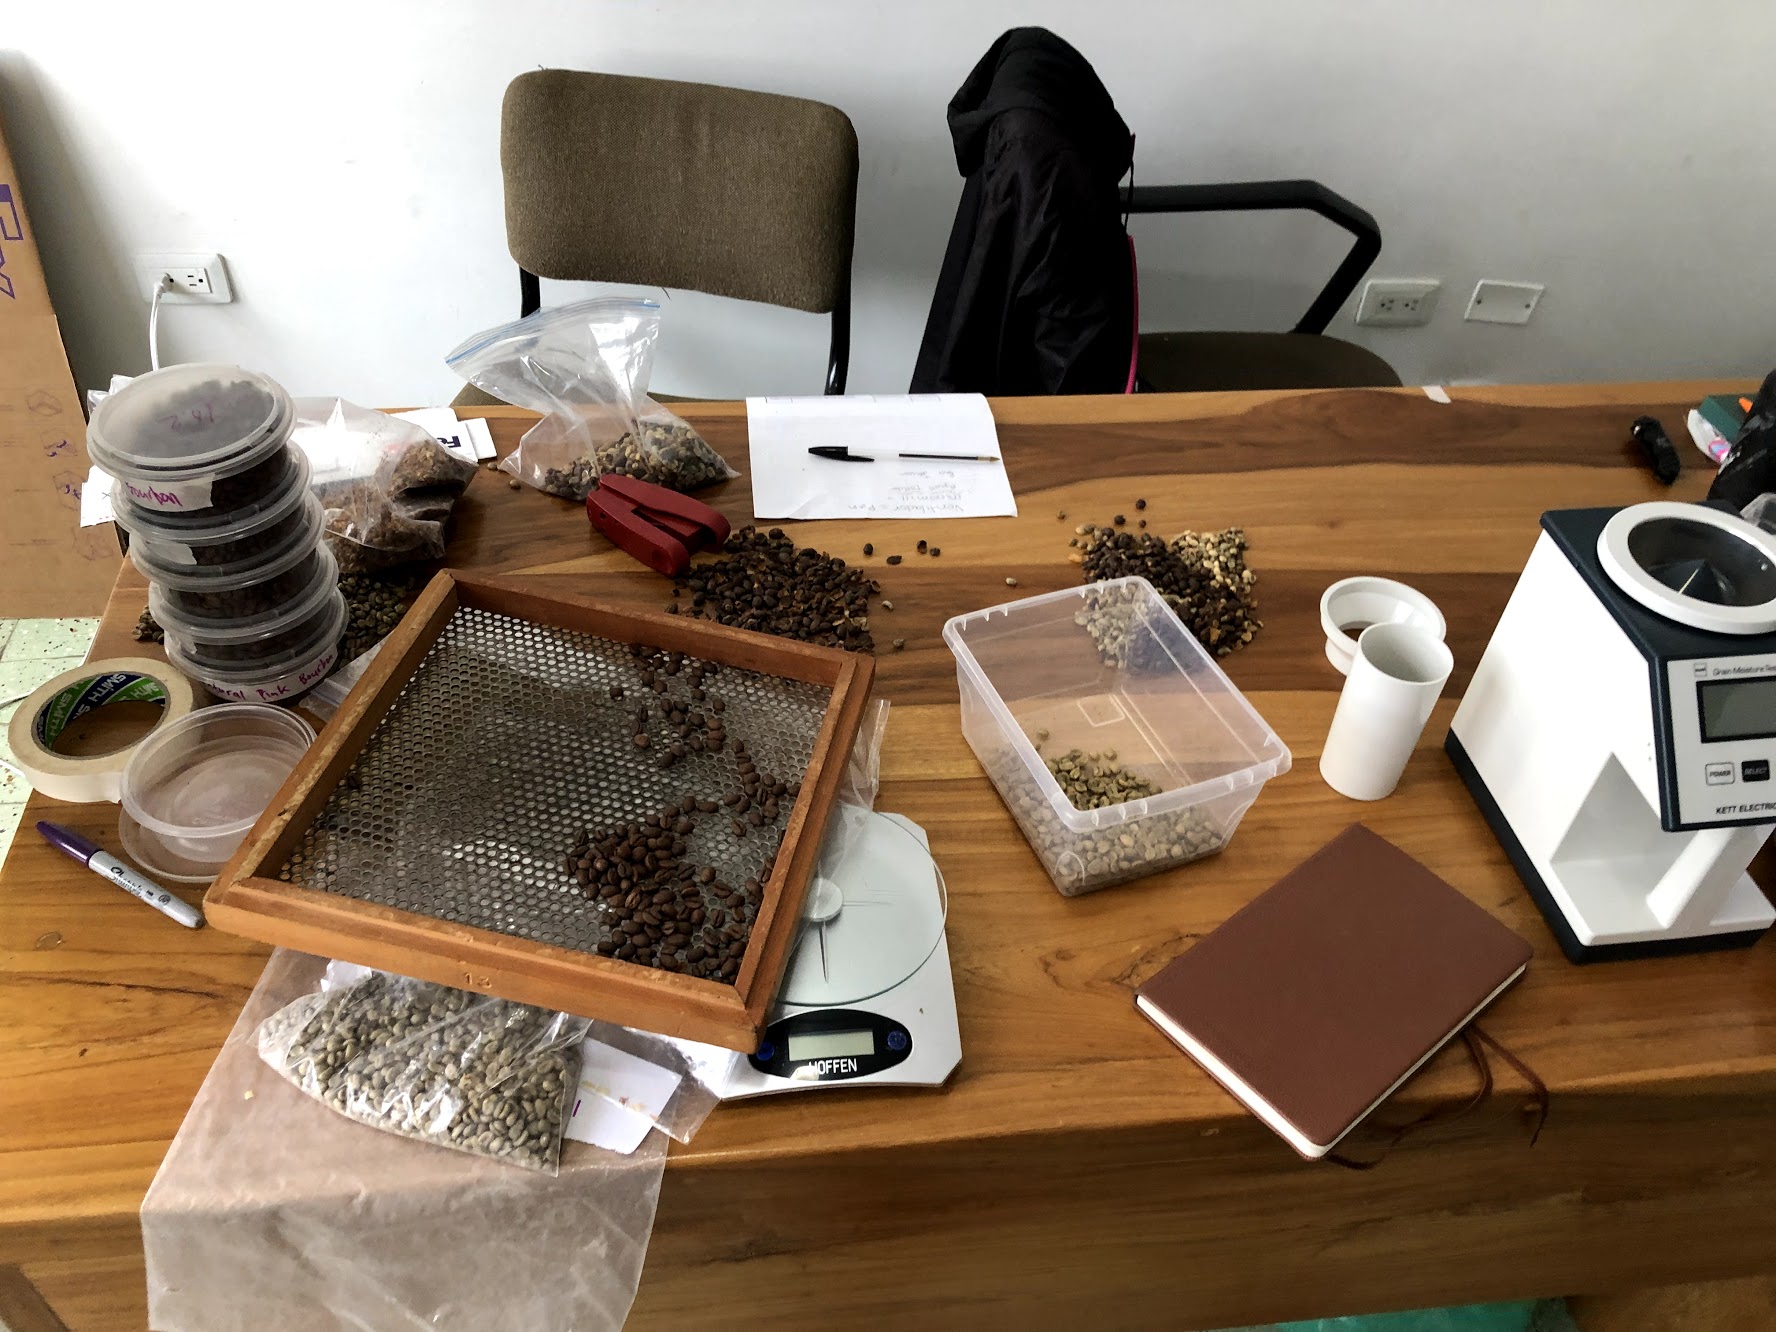
Because my coffee wasn’t quite enough to pass through a color sorter, I hand sorted it to remove any defects. My Q training came in handy!

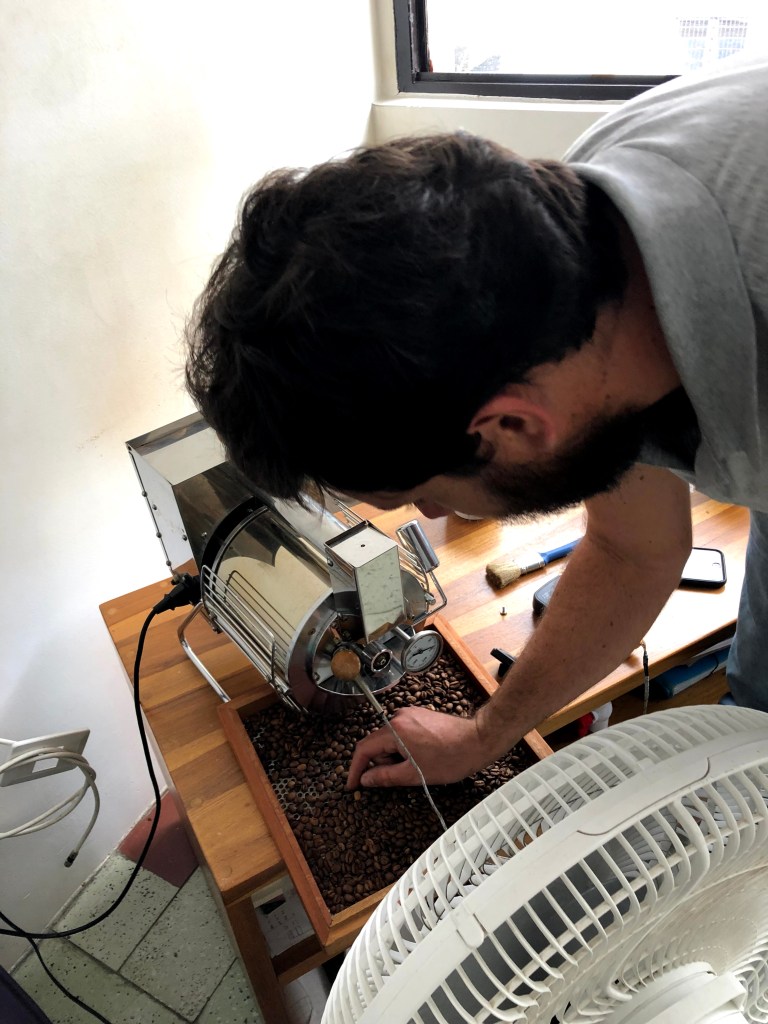
After about 4 weeks of harvesting, processing, and drying, my coffee was “finished,” or ready for export. I siphoned off a small amount to sample roast and packaged the rest in a vacuum sealed bag to bring home!

And I finally have about 600 grams of coffee that I am mostly responsible for.

So How Was It?
The burning question: is it any good? Unfortunately, I don’t know, because we messed up the roast! Because I only wanted to roast a very small batch, it roasted much faster than expected and ended up significantly more developed than we would’ve liked. Or, to put it bluntly, we fucking burnt it!
Dutifully, we still cupped the coffee next day to evaluate its merits.

My conclusion is here:
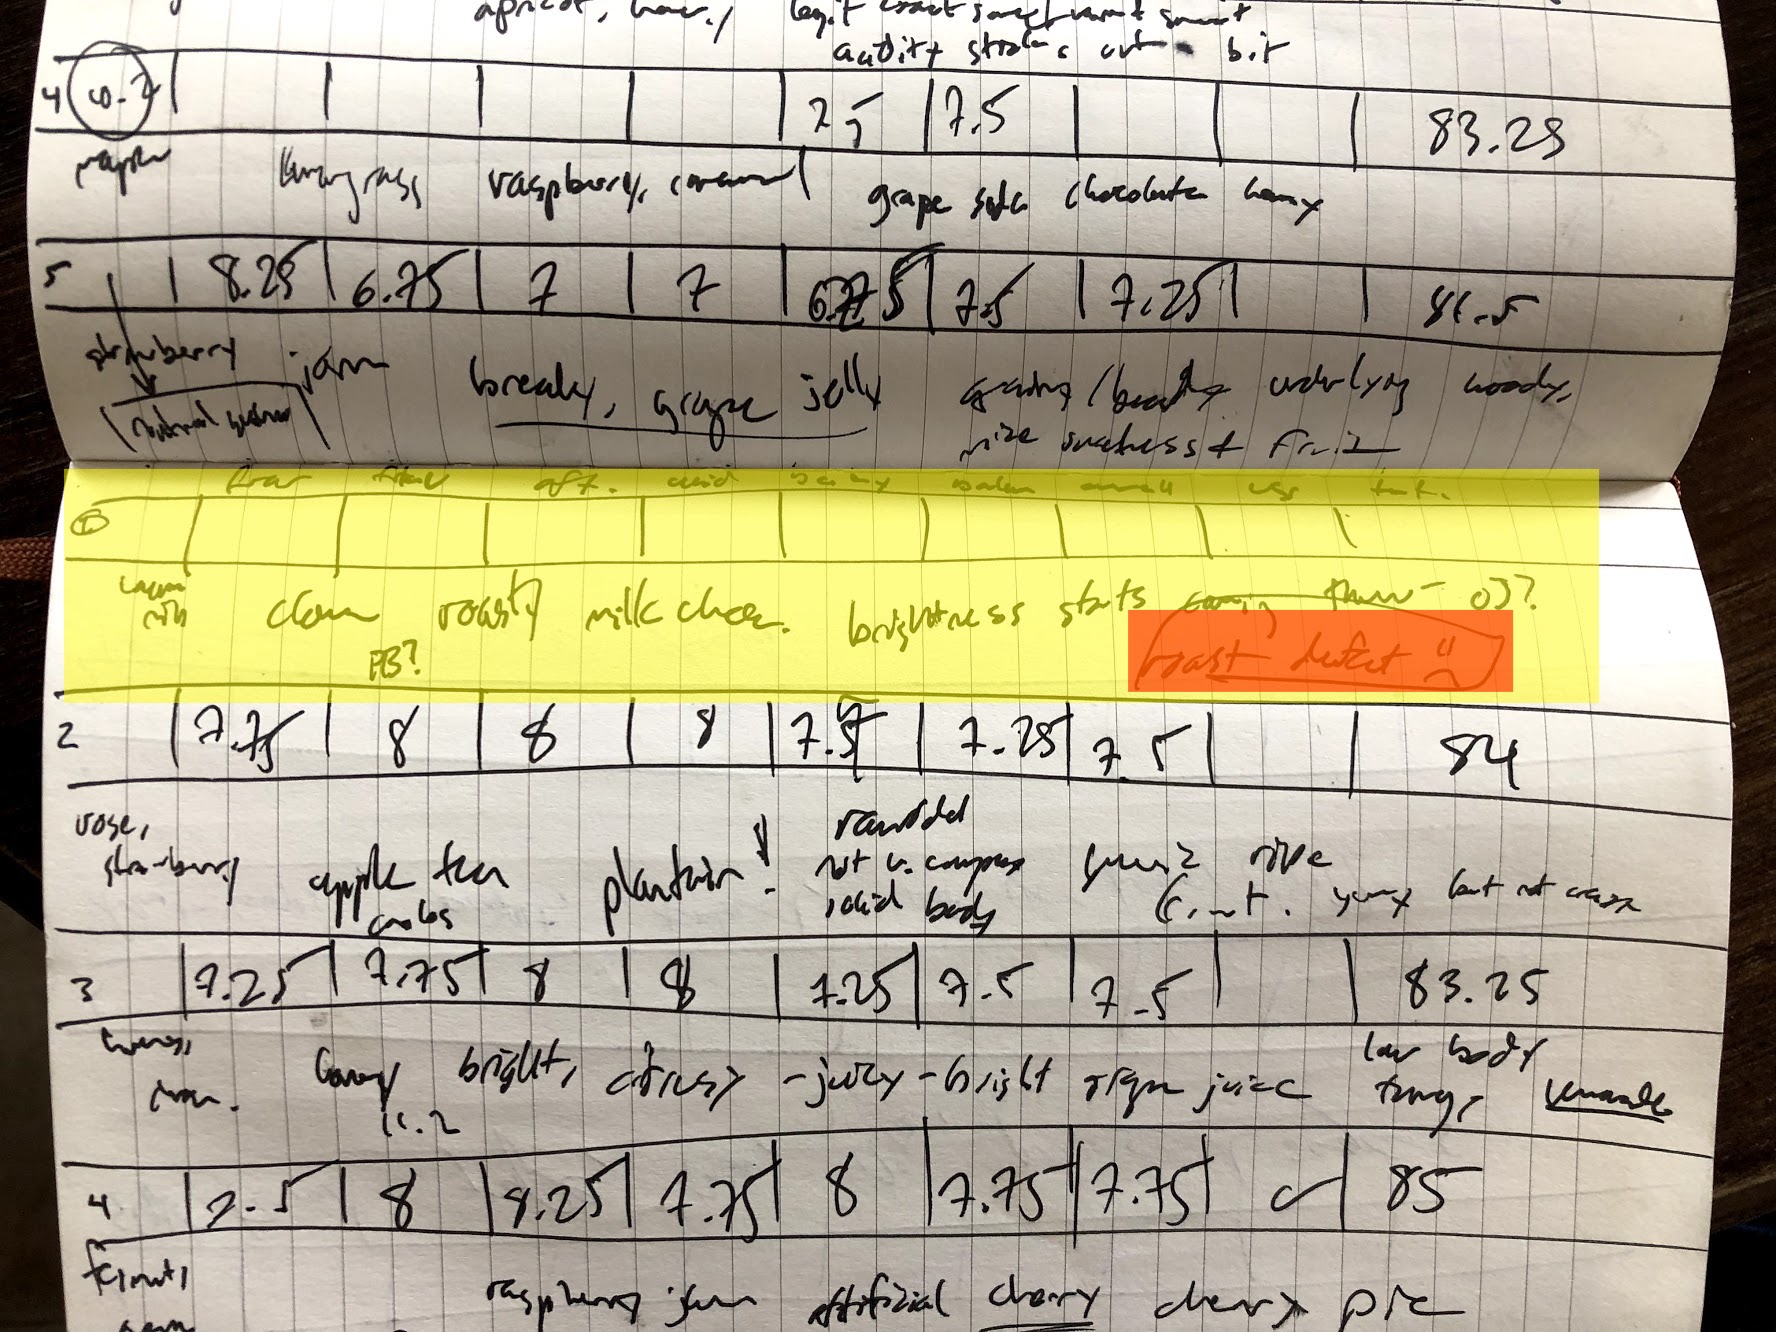
Unscored, with a strong note of “roast defect :(.”
Luckily, I still have the 600 grams to bring home. The next part of the process is exporting, which in this case will happen in my carry-on bag instead of a 40ft shipping container. Hopefully it goes smoothly!
The coffee tasted burnt, but I still liked it due to my extreme bias.
And thus concludes the Saga of the Pink Bourbon. My goal was to use this small batch of coffee to demonstrate just how much I’ve learned along the way – that now I can really make coffee.
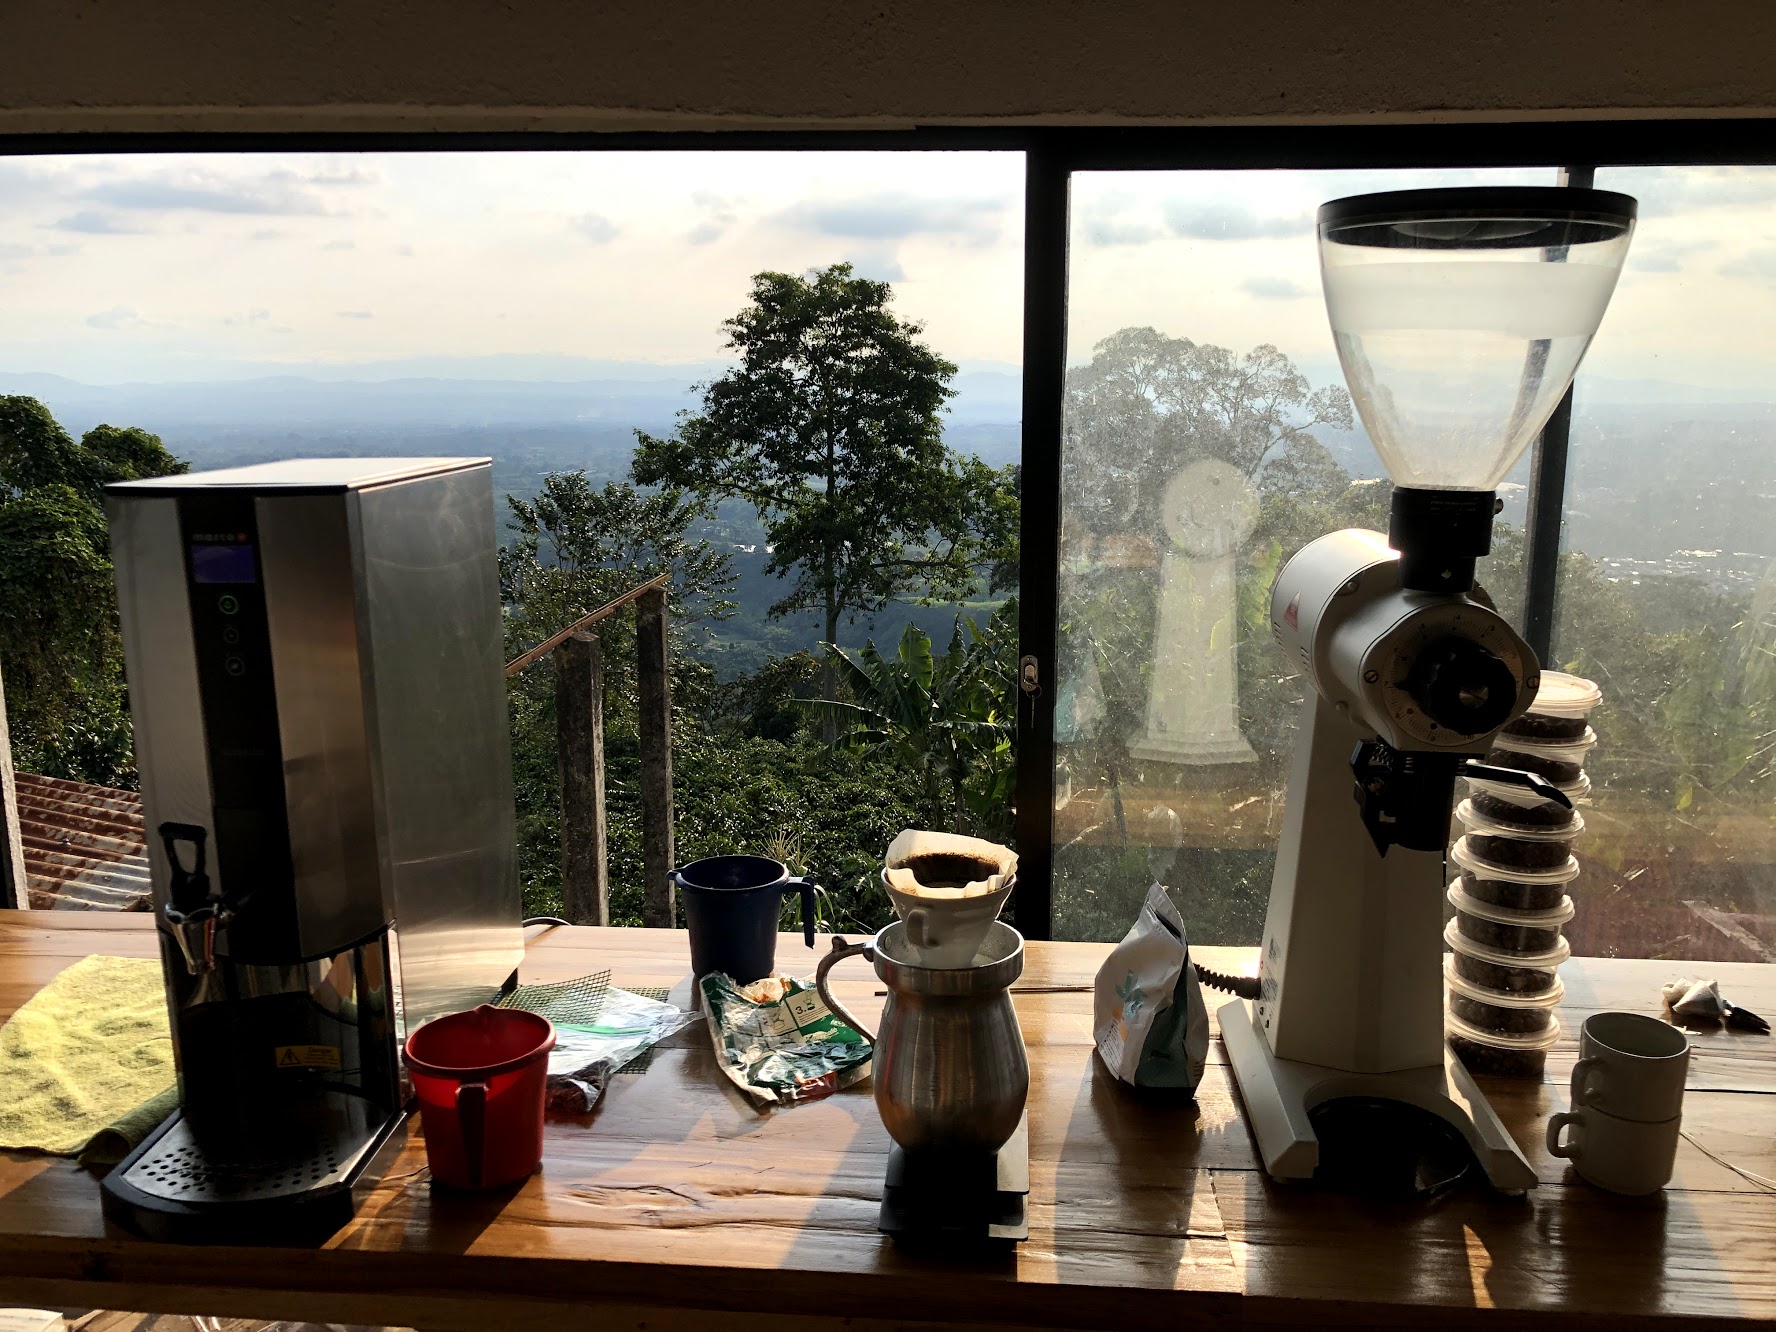
I hope I get to share the coffee with you back in the states, although I have about 20 different samples that I’m bringing home in all:

For now, I’m relaxing in Bogotá for the next few days reflecting on my summer. I’m also working on reconnecting with folks in the industry I’ve met to see where I go from here.
Thanks for joining my journey as it nears its end. This isn’t the last post I’ll make here, but I think it’s a nice conclusion, so if you’re bored at this point feel free to tune out.
NYC, I’ll see you soon!
Alex

I can’t wait to see you and I can’t wait to try your coffee! Assuming they let you take it into the country! I checked, it looks like roasted coffee and green coffee are ok but cherries are not —
https://www.aphis.usda.gov/aphis/resources/travelers-int/?1dmy&urile=wcm%3apath%3a%2Faphis_content_library%2Fsa_resources%2Ftraveler%2Fintl-travel%2Fcoffee-tea-honey-nuts-spices%2Fcoffee-tea-honey-nuts-spices
LikeLike
Yep, I only have green coffee don’t worry!
LikeLike