In order to facilitate my understanding of coffee processing, Miguel has encouraged me to experiment with different processing variables throughout my time here at El Fénix. Last week, a number of my experiments had dried enough to mill, roast, and evaluate, so on Friday we headed into Armenia to prepare the samples!
My coffee samples in parchment, ready to mil 
The micro mill we used to dry mill the samples 
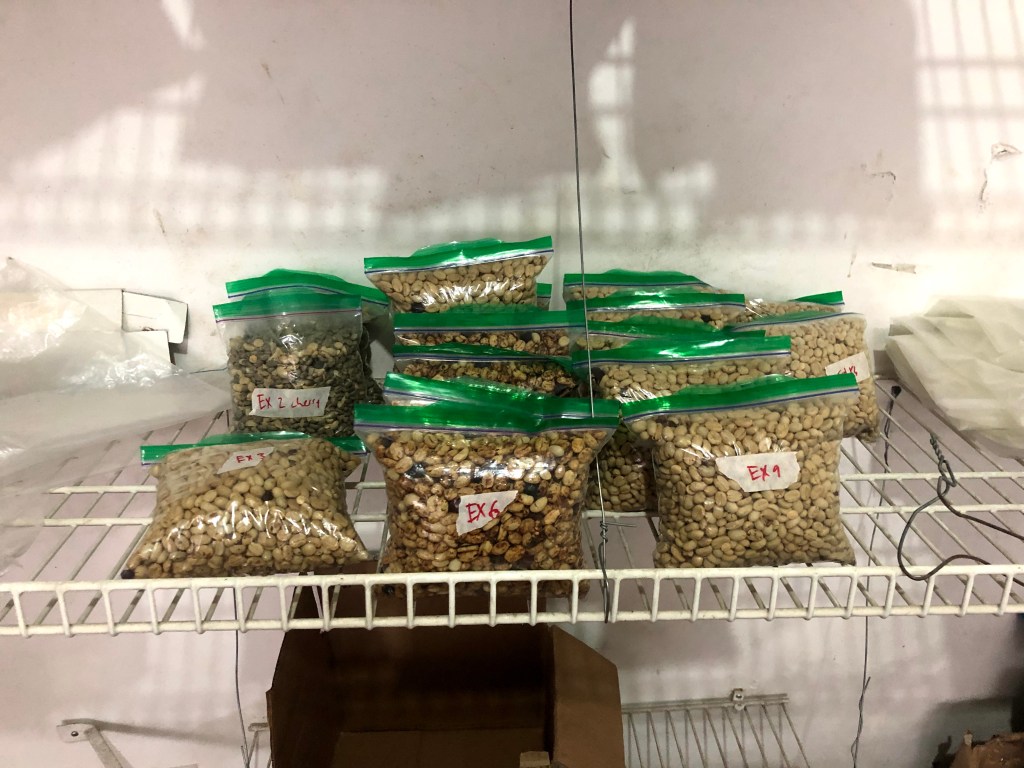
My coffee green, ready to roast! 
My samples roasted on the sample roaster! 
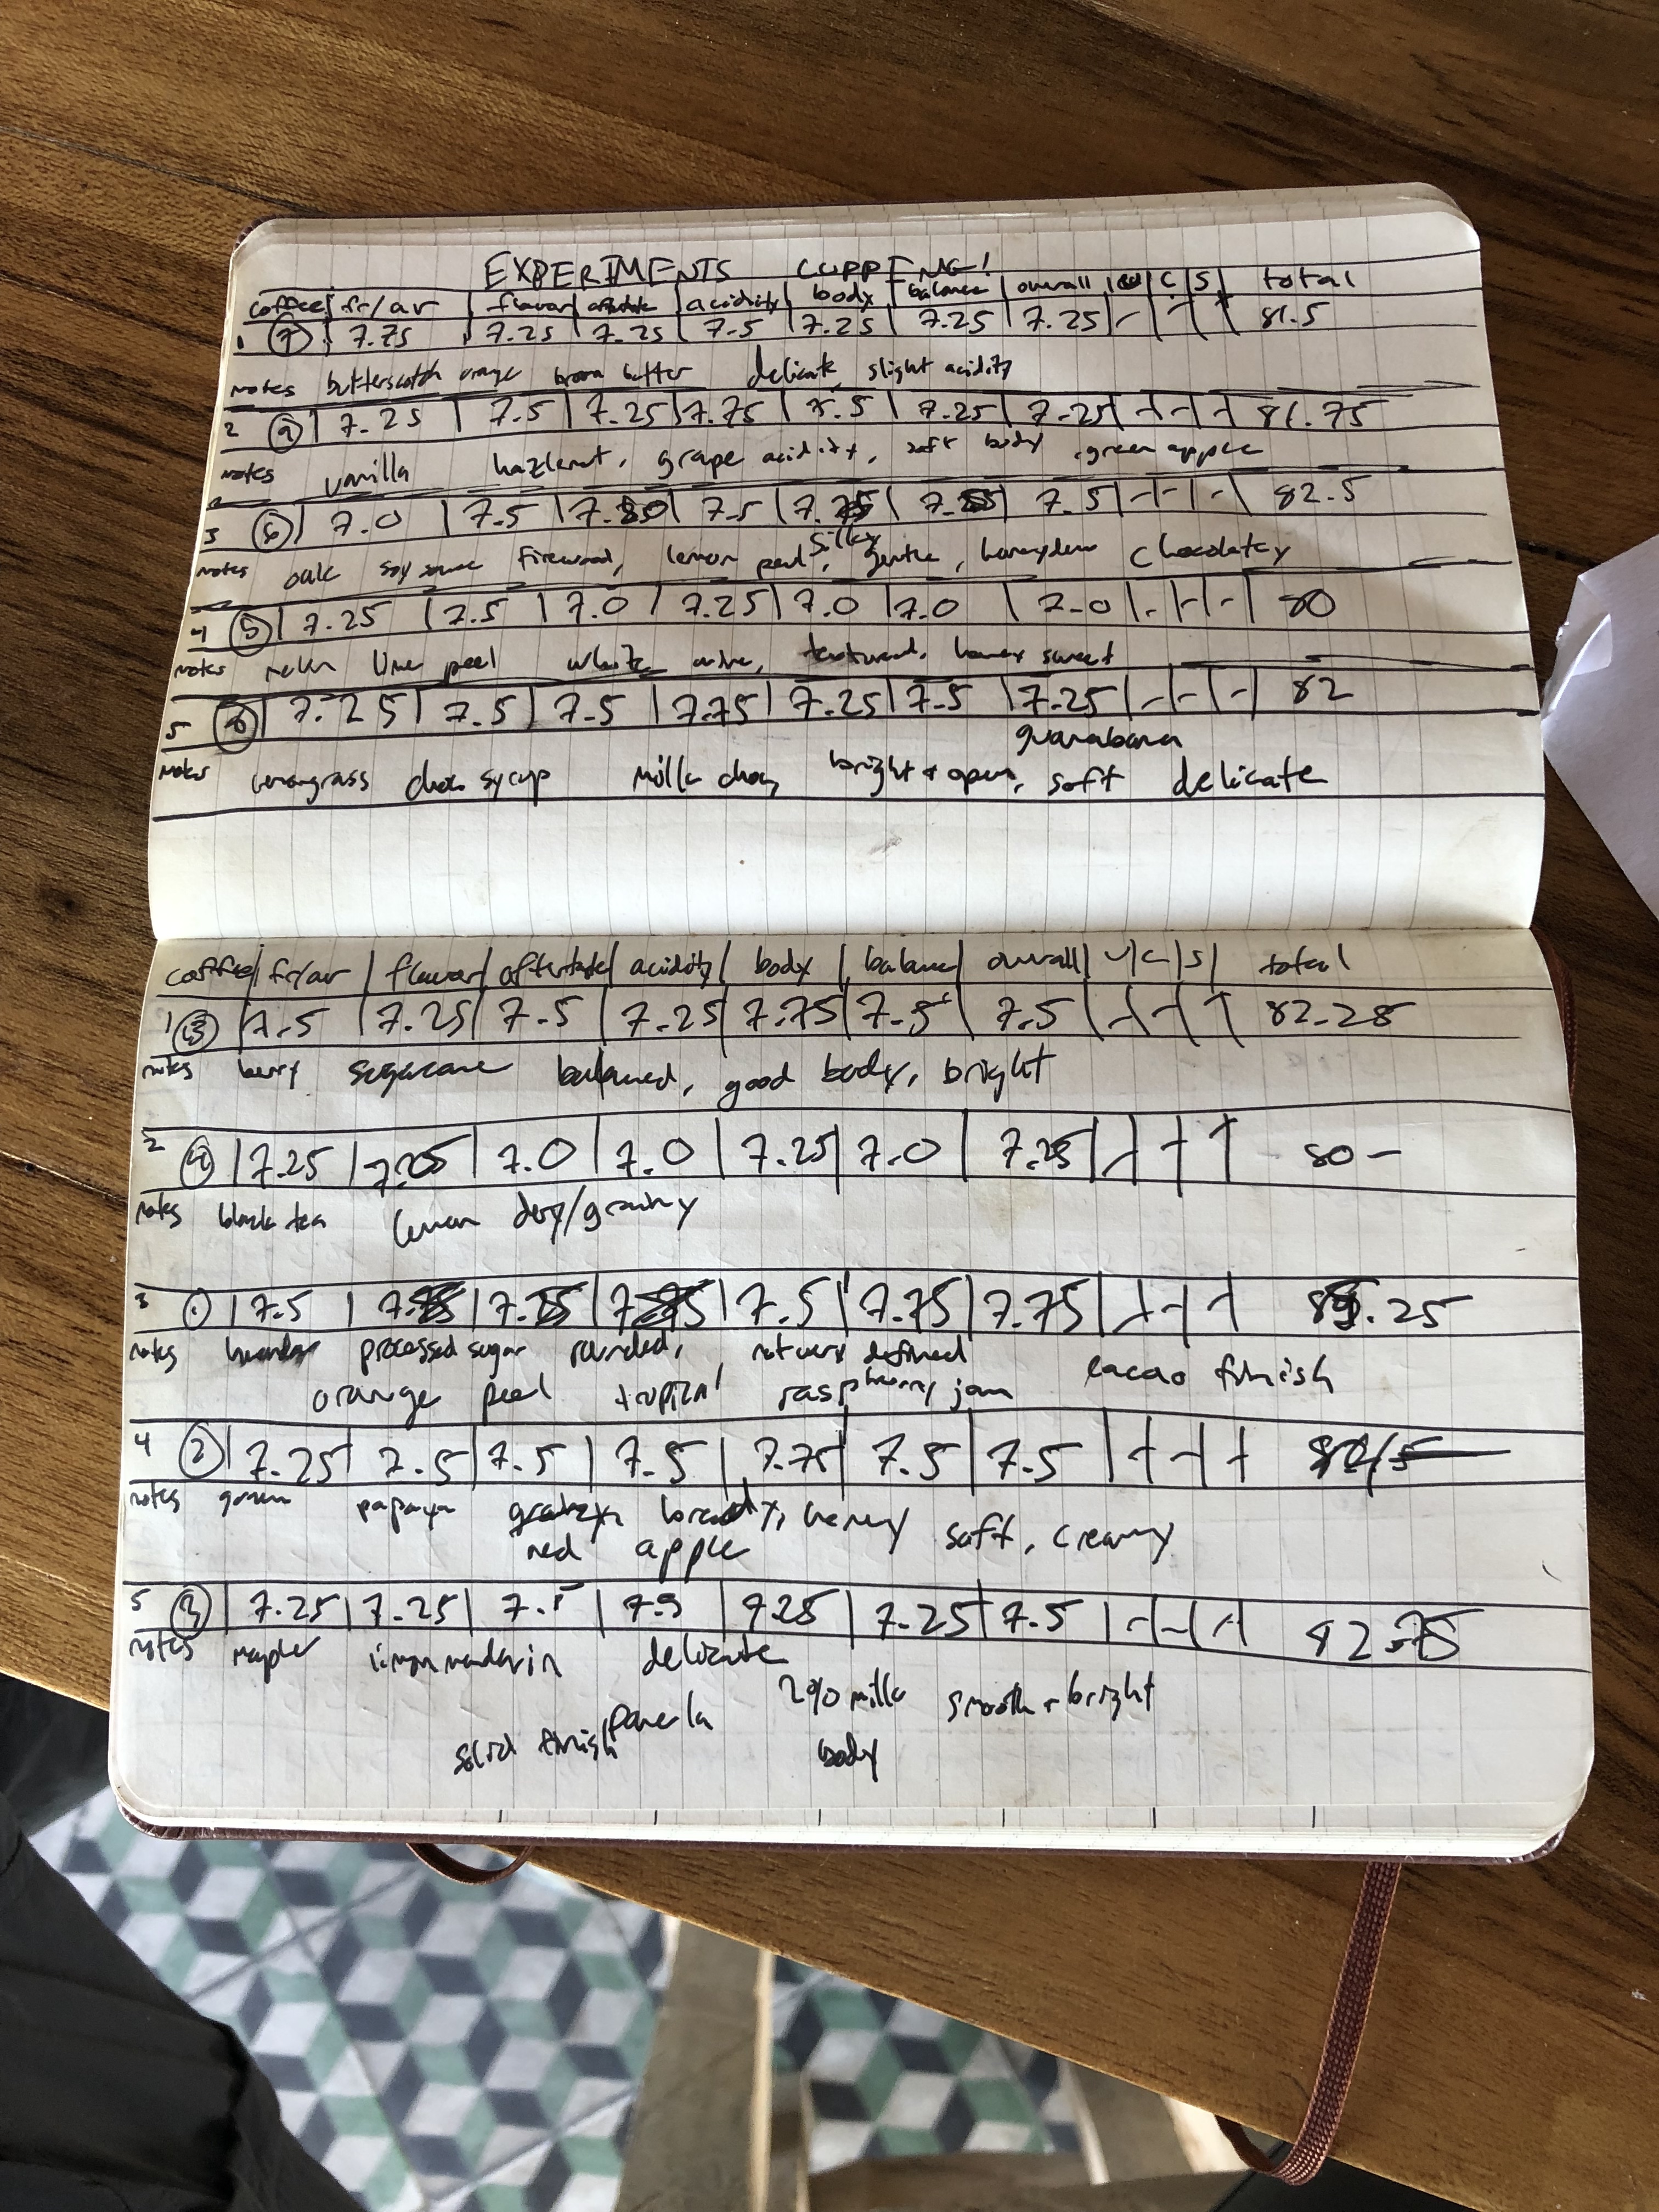
Cupping the samples!
The term “coffee processing” essentially encompasses every action taken on coffee between the moment the coffee cherry is picked from a tree to the moment it’s sealed in a bag as unroasted green coffee (usually ready for export). As I’ve written about, there are three main methods for processing coffee: Washed, Honey, and Natural. However, within each method there are a daunting number of variables to control. In my opinion, many of the most interesting surround the fermentation process, but here is a list of as many individual variables I could think of:
- Cherry handling:
- Floating to remove low-density cherries (yes/no)
- Cherry fermentation length (pulped immediately or allowed to ferment)
- Cherry fermentation style (aerobic/anaerobic)
- Cherry fermentation environment (heat, moisture, substrates, bacteria, yeasts)
- Pulping (yes/no, corresponding to honey and washed vs. natural)
- Parchment handling:
- Fermentation length
- Fermentation style
- Fermentation environment
- Washing (yes/no):
- Washing water quality (reused pulpy vs. clean)
- Washing amount (how much mucilage do you leave on)
- Floating to remove low-density parchment
- Drying:
- Indoor/outdoor
- Shaded/direct sun
- Mechanically dried (in a hot air blower) vs. sun-dried
- Drying time
- Turning frequency
- Drying bed depth
- Stabilization time
- Storage and transport
- Bagging (grainpro versus jute)
- Climate controlled storage (yes/no)
- Time between finished drying and dry milling
Even with all these, there are still many more variables in coffee processing. The variables that I chose to play around with in my first series of experiments were:
- Cherry fermentation length
- Parchment fermentation length
- Parchment fermentation style
- Honey vs. Washed processing
- Direct vs. Indirect sunlight
- Indoor/outdoor drying
In each experiment, I also tried to keep a control sample to measure results against. Here’s what I came up with:
| 1 | Control |
| 2 | Anaerobic control |
| 3 | Cherry Aerobic |
| 4 | Cherry Anearobic |
| 5 | Honey Sun |
| 6 | Honey Shade |
| 7 | Wash Sun |
| 8 | Wash Shade |
| 9 | Extended Ferment 1 |
| 10.1 | Extended Ferment 2.1 |
| 10.2 | Extended Ferment 2.2 |
| 10.3 | Extended Ferment 2.3 |
| 11.1 | Extended Ferment 3.1 |
| 11.2 | Extended Ferment 3.2 |
| 12 | Pink bourbon harvest |
| 13 | Uncontrolled ferment |
| 14 | Tabi extended natural |
| 15 | Castillo extended natural |
The names of each of these experiments roughly correspond to the variables I was testing for. Furthermore, experiments are generally grouped by a harvest date, so 1-4 were a similar trial, as were 5-8 and 9-11.2. In fact, I’ve made a full spreadsheet of all of the data on every experiment available here:

So, the moment we’ve all been waiting for: the results!
Findings
Experiment 1: Basic Fermentation Differences
| # | Experiment Name | Score | Abbreviated Flavor Notes |
| 1 | Control | 83.50 | Panela and fruit tea; delicate body; very well balanced |
| 2 | Anaerobic control | 83.25 | Hints of berry-like acidity, processed sugar sweetness, very clean cup |
| 3 | Cherry Aerobic | 83.25 | Initially sharper acidity softens into guava, lemon tea, melon, with 2% milk mouthfeel |
| 4 | Cherry Anearobic | 83.00 | Meyer lemon acidity, primarily hibiscus tea flavor, honey nut cheerio sweetness and body |
In this experiment I wanted to test some of the basic differences in fermentation styles. All 4 coffees were castillos harvested between 6/24 and 6/25; 1 and 2 were pulped the day of picking, while 3 and 4 were fermented in the cherry underwater overnight. 1 and 3 were fermented in parchment aerobically overnight, while 2 and 4 were sealed into a Grainpro bag and fermented anaerobically overnight.
In all, the four coffees were fairly similar: they were exceptionally bright coffees with a tea-like body and balanced sweetness. Indeed, I scored them all within half a point of each other. The control ended up being my favorite as it was a very well balanced cup of coffee, meaning its different aspects fit exceptionally well together.
While it may be difficult to generalize relative differences between these experiments to processing in general, some patterns emerged: the anaerobically fermented coffees had a bit more body than the aerobically fermented coffees, while the overnight cherry fermentation did not have a significant impact on cup profile.
Takeaway: anaerobic parchment fermentation may help add body versus aerobic, while 20 hours of cherry fermentation is not enough to contribute to major cup differences.
Experiment 2: Honey Processing and Drying Locations
| # | Experiment Name | Score | Abbreviated Flavor Notes |
| 5 | Honey Sun | 80.00 | Roast defect; underdeveloped and dry |
| 6 | Honey Shade | 83.75 | Cane sugar, lemon peel, grapefruit. Silky body, 1% milk mouthfeel |
| 7 | Wash Sun | 82.00 | Butterscotch, orange juice, slightly dry, clean finish |
| 8 | Wash Shade | 85.75 | Guanabana and chocolate syrup, cools into very peachy cup. Soft and delicious |
This second experiment used smaller amounts of coffee that were processed identically until the washing phase. After pulping the day of and fermenting for 20 hours, half of the coffee was moved directly to two drying beds (one in the sun and one in the shade) while the other half was washed three times and placed in similar locations. The results of this experiment were apparent even before cupping, as we were able to measure the humidity of the coffees and see noticeable differences:
| # | Experiment Name | Humidity (%) |
| 5 | Honey Sun | 8 |
| 6 | Honey Shade | 10.1 |
| 7 | Wash Sun | 7.8 |
| 8 | Wash Shade | 9.2 |
Clearly sun drying has an appreciable impact on the rate of drying versus shade drying. The coffees were all dried in a one-bean-thick layer spread across the drying tray and stirred twice a day.
The drying differences made major changes to the roasting process: the honey sun (#5) roasted exceptionally quickly, leading to an underdeveloped and dry roast that obscured many of the flavors of the coffee.
The honey shade presented a promising sweetness as it cooled, but sharp acidity obscured its fruit notes for the majority of the tasting. Meanwhile, the washed coffees offered exceptional results, and especially so with the washed shade. The washed shade (#8) ended up being my favorite coffee of all of the experiments, due primarily to a succulent peachy note that made the coffee stand out on the table. I gave it a score of 85.75 and would happily drink it every day. Interesting to note is that coffees #1 and #8 were almost identical in processing besides shade drying for #8, implying that shade drying may have vastly improved cup quality.
The final factor to note is that these coffees were cupped only two days after dry milling, leading to a very fresh and bright taste across the board. After stabilization (which can take up to 6 months) their cup characteristics would undoubtedly change. This change may be hinted at in the flavors of the coffee as it cools during cupping, once initial acidity has subsided. Thus, I’m optimistic about the long-term potential of the honeys.
Takeaway: sun drying dramatically increases drying speed with all other factors held constant. Shade drying may allow for more sugar expression in the final cup. Honey processing does not lead to dramatic differences in fresh beans, but may add sweetness and body.
Experiment 3: Extended Fermentation
This was the experiment I was most excited for after my visit at La Palma. Unfortunately, we didn’t get the chance to try the longest fermentation times (up to 90 hours) because the parchment was not yet dry enough. I think that we’ll get to mill and cup these samples next week, though.
I’ll skip the full description of the processing and simply show you the spreadsheet entries:

What’s nice about having a control sample is that I can essentially compare any coffee to it where I only change 1 variable. In this case, the variables I played with were fermentation times for parchment, allowing up to 2 days for the mucilage to loosen. Here are the results:
| # | Experiment Name | Score | Abbreviated Flavor Notes |
| 9 | Extended Ferment 1 | 85.50 | Artificial candy sweetness, honeydew, milk chocolate body, unique |
| 13 | Uncontrolled ferment | 82.25 | Lots of tea like notes – initially black tea, then chamomile and lemon tea. Very delicate. |
It worked! I got the fermentation flavor that I was looking for with sample #9, which was cooled aerobically as it fermented. To achieve this, I left the coffee in an open grainpro bag in a bucket of running water. Samples #9 and #10 tested the coffee taken out after 2 days, while 11.1 was after 70 hours and 11.2 was after 90 hours. I’m definitely interested in tasting 10, 11.1 and 11.2, when they finish drying, but already in sample #9 I could taste some characteristics of extended fermentation.
Across a number of samples I’ve cupped with Miguel now, there is a noticeable flavor note for extended fermentation which I also remember from La Palma. For me, it is reminiscent of the artificial sweetness of something like grape cough syrup (without the grossness of cough syrup, luckily). You could also say purple jolly rancher, a note I wrote down at a cupping at La Palma. And I got it in #9! (Purple jolly rancher is, without a doubt, the worst jolly rancher flavor, but it’s yummy in coffee.)
This flavor note certainly isn’t for everyone, but on the whole I think it can be a good investment because of the way coffee is bought. When buyers cup 12 samples on a cupping table, smaller differences due to terroir sometimes are not enough to convince a buyer to buy a coffee. Extended fermentation really helps the coffee stand out on the cupping table and catch cuppers’ attention.
Miguel has his own opinions on this, and he likens it to fermentation experiments in wine, which I know less about. According to Miguel, there was a period in winemaking when artificially enhanced fermentation (through addition of bacteria or yeasts) in wine lead to unique characteristics that many winemakers favored for a number of years. Soon after, though, buyers began looking more for wines that were reminiscent of their terroir rather than their fermentation. It’s certainly true that extended fermentation “paints over” most of the coffee’s other flavors, but personally I really like the characteristics that it adds. Apparently, this is generally true with Russian and Chinese coffee buyers – they love extended fermentation! I guess it may be the Ashkenazi coming out in me after all. I scored #9 at 85.5, my second favorite coffee on the table.
Notably, experiment #13 lacked the extended fermentation characteristic present in #9. This seems to suggest that controlled fermentation (through temperature and cooling) yields more reliable results than uncontrolled fermentation.
Takeaways: cooled extended fermentation can replicate the common “grape candy” flavor.
Conclusions
Miguel has frequently told me that I’m basically completing the Q Processing course while I’m here, and I’ve definitely felt that way since cupping my samples. (The CQI, which runs the Q Arabica Grader, runs a similar course for coffee production to help standardize ideas of quality. There are 3 levels: 1-generalist, 2-professional, and 3-expert. I’m probably toeing the line between 2 and 3.) It was deeply rewarding to taste the differences that single variable differences can have in otherwise the exact same coffees.
There’s another fun story which I haven’t yet told, which is the first round of cupping results. As I mentioned, the samples were incredibly fresh when we cupped them. Well, we initially cupped the coffees the day after dry milling, and I got a bit worried. Every coffee on the table was bright and lemony, with a bit of raw sugar sweetness and a very thin body. There were one or two coffees that stood out to me, but we were cupping all 10 samples blind, so I had no idea which one was which. After filling out my cupping sheets, one coffee clearly stood out: while every sample was about 81-82, this one was scoring around 85. Its slightly less astringent body and fruit undertones helped make it stand out, but I was probably biased due to the acidity of the table and overscored it a bit. Nevertheless, we turned the samples over to see the names and write down the experiment numbers, and I was hoping to see that some variable I played with made a huge impact and that I’d figured out how to improve coffee taste through processing. When I saw the numbers, though, I got very disheartened: the best sample on the table, by far, was the control! All my experiments for nothing!
As the coffees rested, the flavor profiles changed reassuringly. In fact, on the first day I could taste almost no difference due to the extended fermentation, which was very disappointing. On the second cupping, though, I got to the tray and laughed: there’s the grape candy! It worked!

Cupping coffees that you have processed is a totally new feeling because of all of the anticipation. You really have no idea what the coffee will taste like until you taste it, so there’s a lot of pressure on the coffee in your mind. Miguel deeply empathizes with this feeling, because he is responsible for deciding which varieties the farm has planted, which is a much bigger investment than how you’ve processed one batch! After planting 4,000 Geshas, Miguel set it all up to cup the first trials. You can imagine the enormous anticipation in tasting the first pass – especially so for Geshas, which are known to have an extremely distinctive cup profile. He hit the tray and, as he tells it, “I slurped, then… fuck, that is not a Gesha. You can imagine, how am I going to explain this to my business partners!?”
Luckily, the flavors improved as the coffees stabilized, just as with my experiments. He explains, “that’s how I learned to wait, test the water, and make sure all of your tasting variables are OK before you get too disappointed.” (The water on one of our first cupping tables had an off flavor due to being re-heated too many times, adding to the low scores across the board.)
The biggest takeaway I have from this first round of experiments is that processing really matters and the differences are noticeable. This result answers one of my core questions about coffee production: how much can producers do to influence their coffee flavors? A good amount, it turns out, and I now have a good sense of the different variables and their relative impacts.
Last but not least, be sure to check out the results spreadsheet – I worked very hard on it!
I hope you learned a thing or two, I know I did. Have a good day!

Alex

Such an impressive and detailed set of experiments – and sounds like you learned a lot! Given that you are a physics major, I’m assuming that unfortunately there’s no way to turn this into your senior thesis or junior paper??
LikeLike